

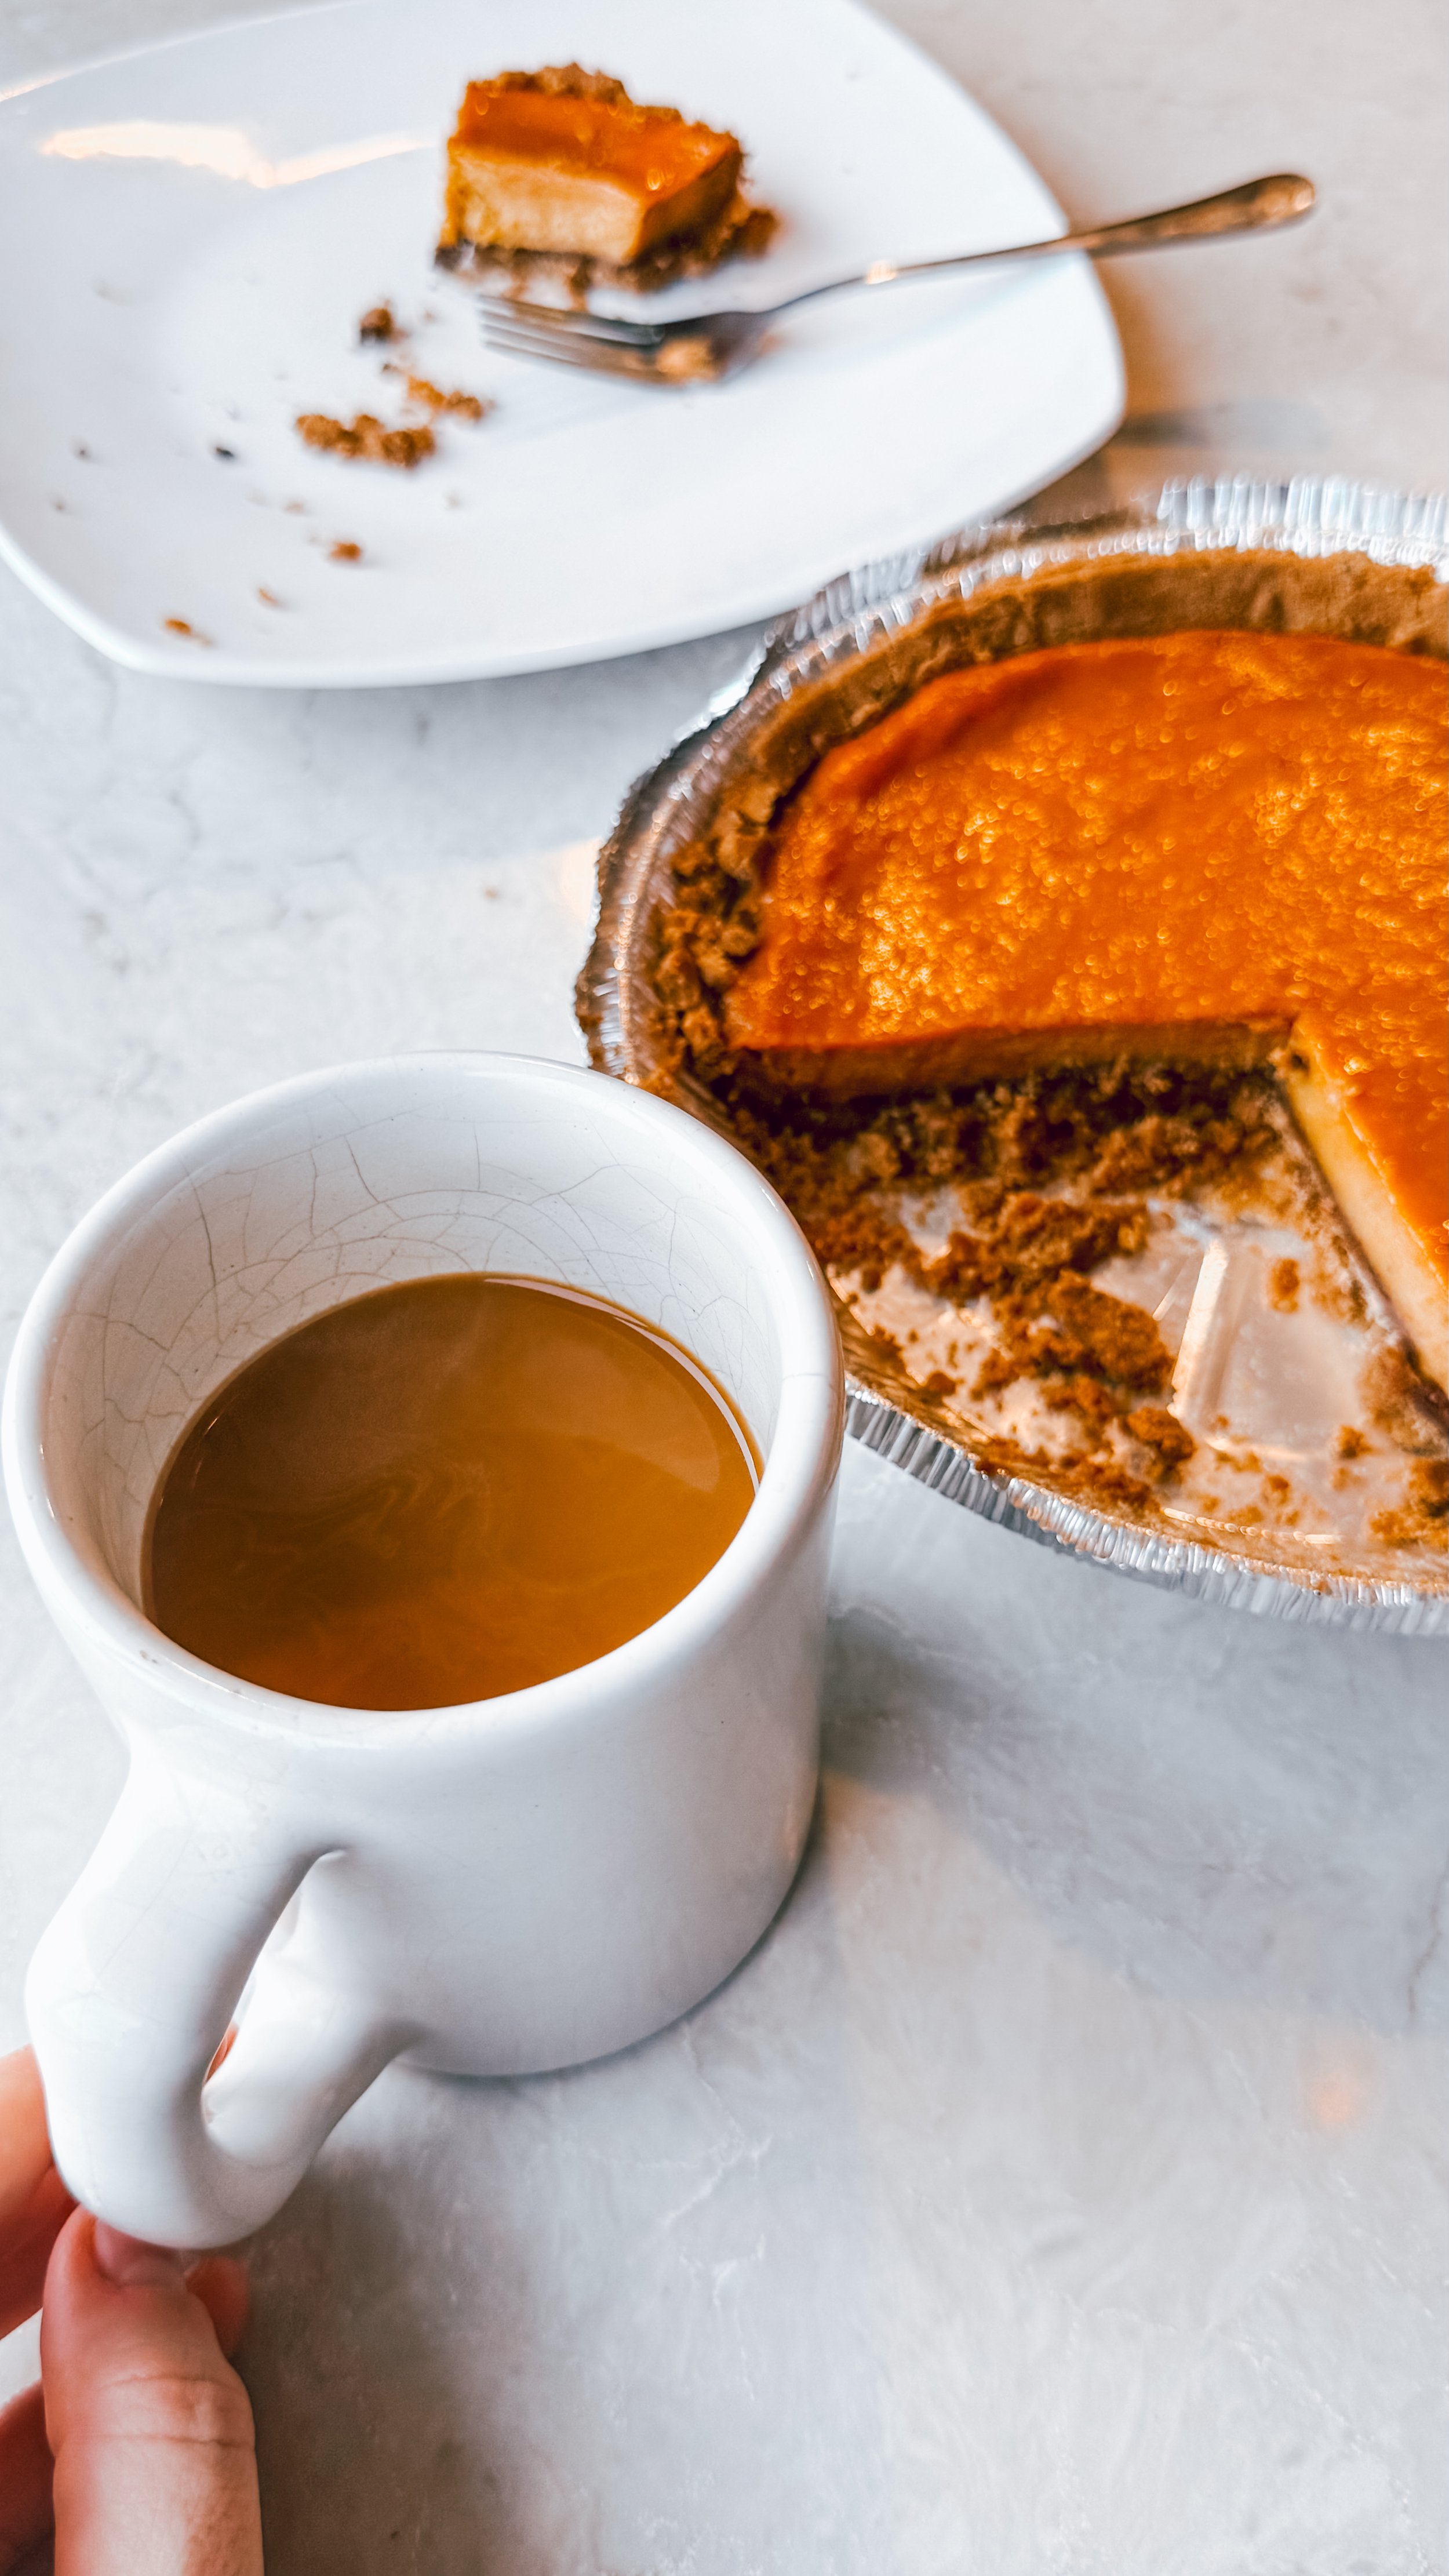
A new twist on a classic holiday favorite, with a nutty graham cracker crust, a thin layer of salted dark chocolate, and a silky pumpkin custard. Can you guess the secret ingredient?
You came for the recipe, so I won't make you scroll for it!
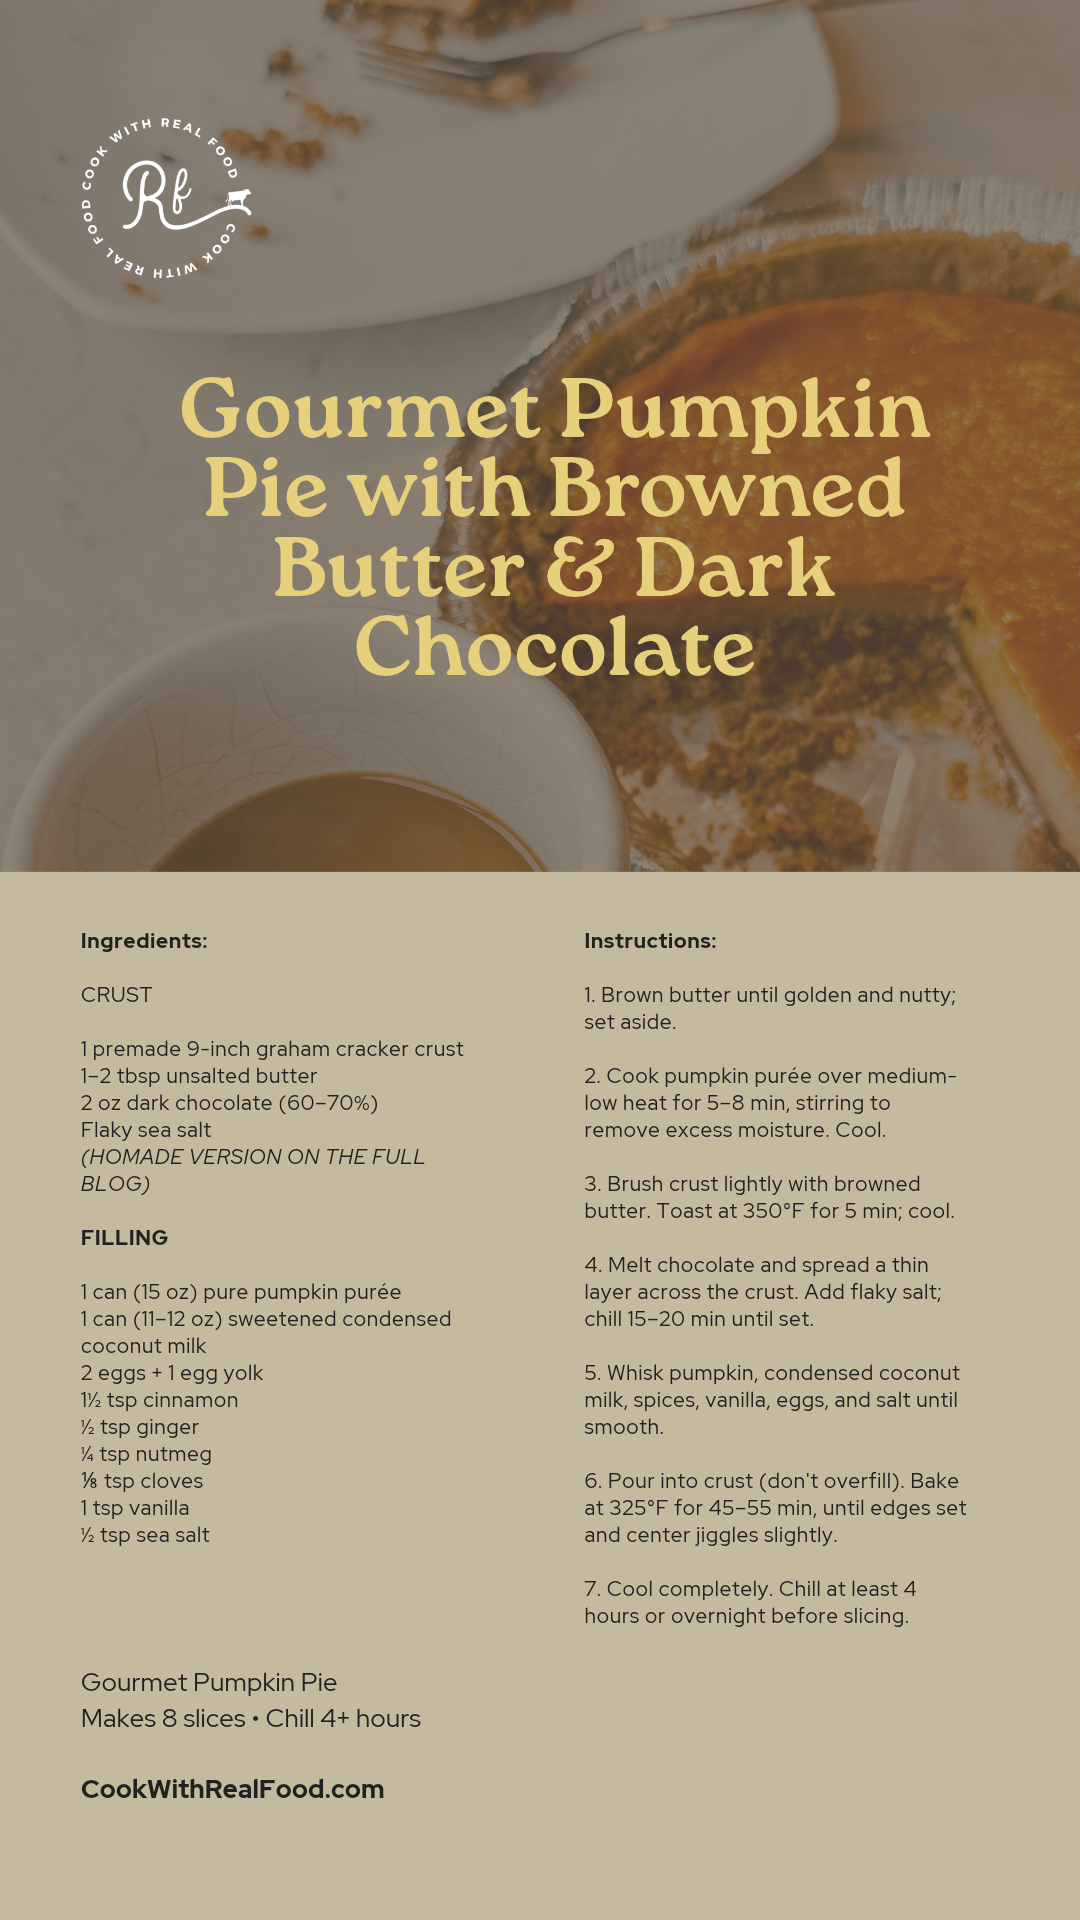
Ingredients
For the Browned Butter Graham Cracker Crust
1 premade 9-inch graham cracker pie crust
1–2 tablespoons unsalted butter
2 oz dark chocolate (60–70% cacao)
Flaky sea salt, for finishing
For the Pumpkin Coconut Filling
1 can (15 oz) pure pumpkin purée
1 can (11–12 oz) sweetened condensed coconut milk
2 large eggs
1 egg yolk
1½ teaspoons ground cinnamon
½ teaspoon ground ginger
¼ teaspoon ground nutmeg
⅛ teaspoon ground cloves
1 teaspoon vanilla extract
½ teaspoon sea salt
Optional for Serving
Fresh whipped cream
A drizzle of melted dark chocolate
A little cinnamon or freshly grated nutmeg
Prep Time: 25 minutes
Bake Time: Approximately 50–60 minutes, including crust toasting
Chill Time: At least 4 hours
Servings: 8
Visual Learner? Watch Me Make It!
See how I turn a classic pumpkin pie into something gourmet with browned butter, salted dark chocolate, and a silky pumpkin coconut custard.
Read The Instructions
1. Brown the Butter
First, we're gonna start by browning some butter for our pie crust.
Add 1–2 tablespoons of butter to a small saucepan over medium heat. Let it melt and continue cooking until the milk solids turn golden brown and the butter develops a rich, nutty aroma.
Remove it from the heat and set it aside.
This would be even better with a homemade graham cracker crust, but I wanted to show you a simple way to elevate a store-bought option.
2. Reduce the Pumpkin Purée
Next, add your pumpkin purée to a saucepan over medium-low heat.
Cook for about 5–8 minutes, stirring frequently.
We're not trying to cook the pumpkin completely down or caramelize it. We just want to remove some of that excess moisture and bring the natural pumpkin flavor forward.
You'll notice the purée becoming a little thicker as it cooks.
Once that's done, remove it from the heat and set it aside to cool.
3. Toast the Graham Cracker Crust
Now, back to our pie crust!
Preheat your oven to 350°F.
Using a pastry brush, carefully brush a thin layer of that browned butter over the bottom and sides of your premade graham cracker crust.
You don't need to soak it. We're just adding enough to bring in that toasted, nutty flavor.
Pop it into the oven for about 5 minutes, then remove it and let it cool completely.
This is such a simple technique, but it's a great way to add a little more flavor to a crust that's already made.
4. Add the Dark Chocolate Layer
Once your crust has cooled, melt 2 ounces of dark chocolate using a double boiler or short intervals in the microwave.
Spread a thin, even layer across the bottom of the crust.
Now, take it to the next level with a little flaky sea salt.
Place the crust in the refrigerator for about 15–20 minutes, or until the chocolate has set.
That chocolate will add a beautiful contrast to the creamy pumpkin filling, and when the pie is chilled, it firms up again for another layer of texture.
Plus, if you have a crust that’s broken or more crumbly, this is a great way to add more structure to the crust!
5. Make the Pumpkin Coconut Filling
For our filling, we're gonna combine the cooled, reduced pumpkin purée with our warming spices, vanilla, eggs, and the secret ingredient: sweetened condensed coconut milk.
You can absolutely use regular sweetened condensed milk here, but the coconut version adds another layer of flavor that blends beautifully with the pumpkin and goes perfectly with that nutty, crumbly crust.
Whisk the pumpkin, condensed coconut milk, cinnamon, ginger, nutmeg, cloves, vanilla, and salt together until smooth.
In a separate bowl, lightly beat the eggs and additional egg yolk, then whisk them into the pumpkin mixture until everything is combined.
Because the condensed coconut milk is already sweetened, we don't need to add any additional sugar.
6. Assemble and Bake
Reduce your oven temperature to 325°F.
Remove the chocolate-lined crust from the refrigerator and slowly pour in your pumpkin filling.
Place the pie on a baking sheet and bake for approximately 45–55 minutes, or until the edges are set and the center still has a slight jiggle.
Remember, we're making a custard, so we don't want to overbake it.
The filling will continue to set as it cools.
A quick note: Store-bought graham cracker crusts can be fairly shallow. Depending on the size of your crust, you may have some extra filling. Don't overfill it! You can bake the extra custard separately in a small ramekin.
7. Cool, Chill & Serve
Let your pie cool completely before transferring it to the refrigerator.
Chill for at least 4 hours, or overnight if you're making this ahead for the holidays.
As the pie chills, the custard firms up and the chocolate layer sets again, bringing together all those different textures and flavors.
Serve with freshly whipped cream, a little cinnamon, or a drizzle of chocolate.
Cheers to your holiday season, and happy cooking!
A Gourmet Twist on a Classic Holiday Favorite
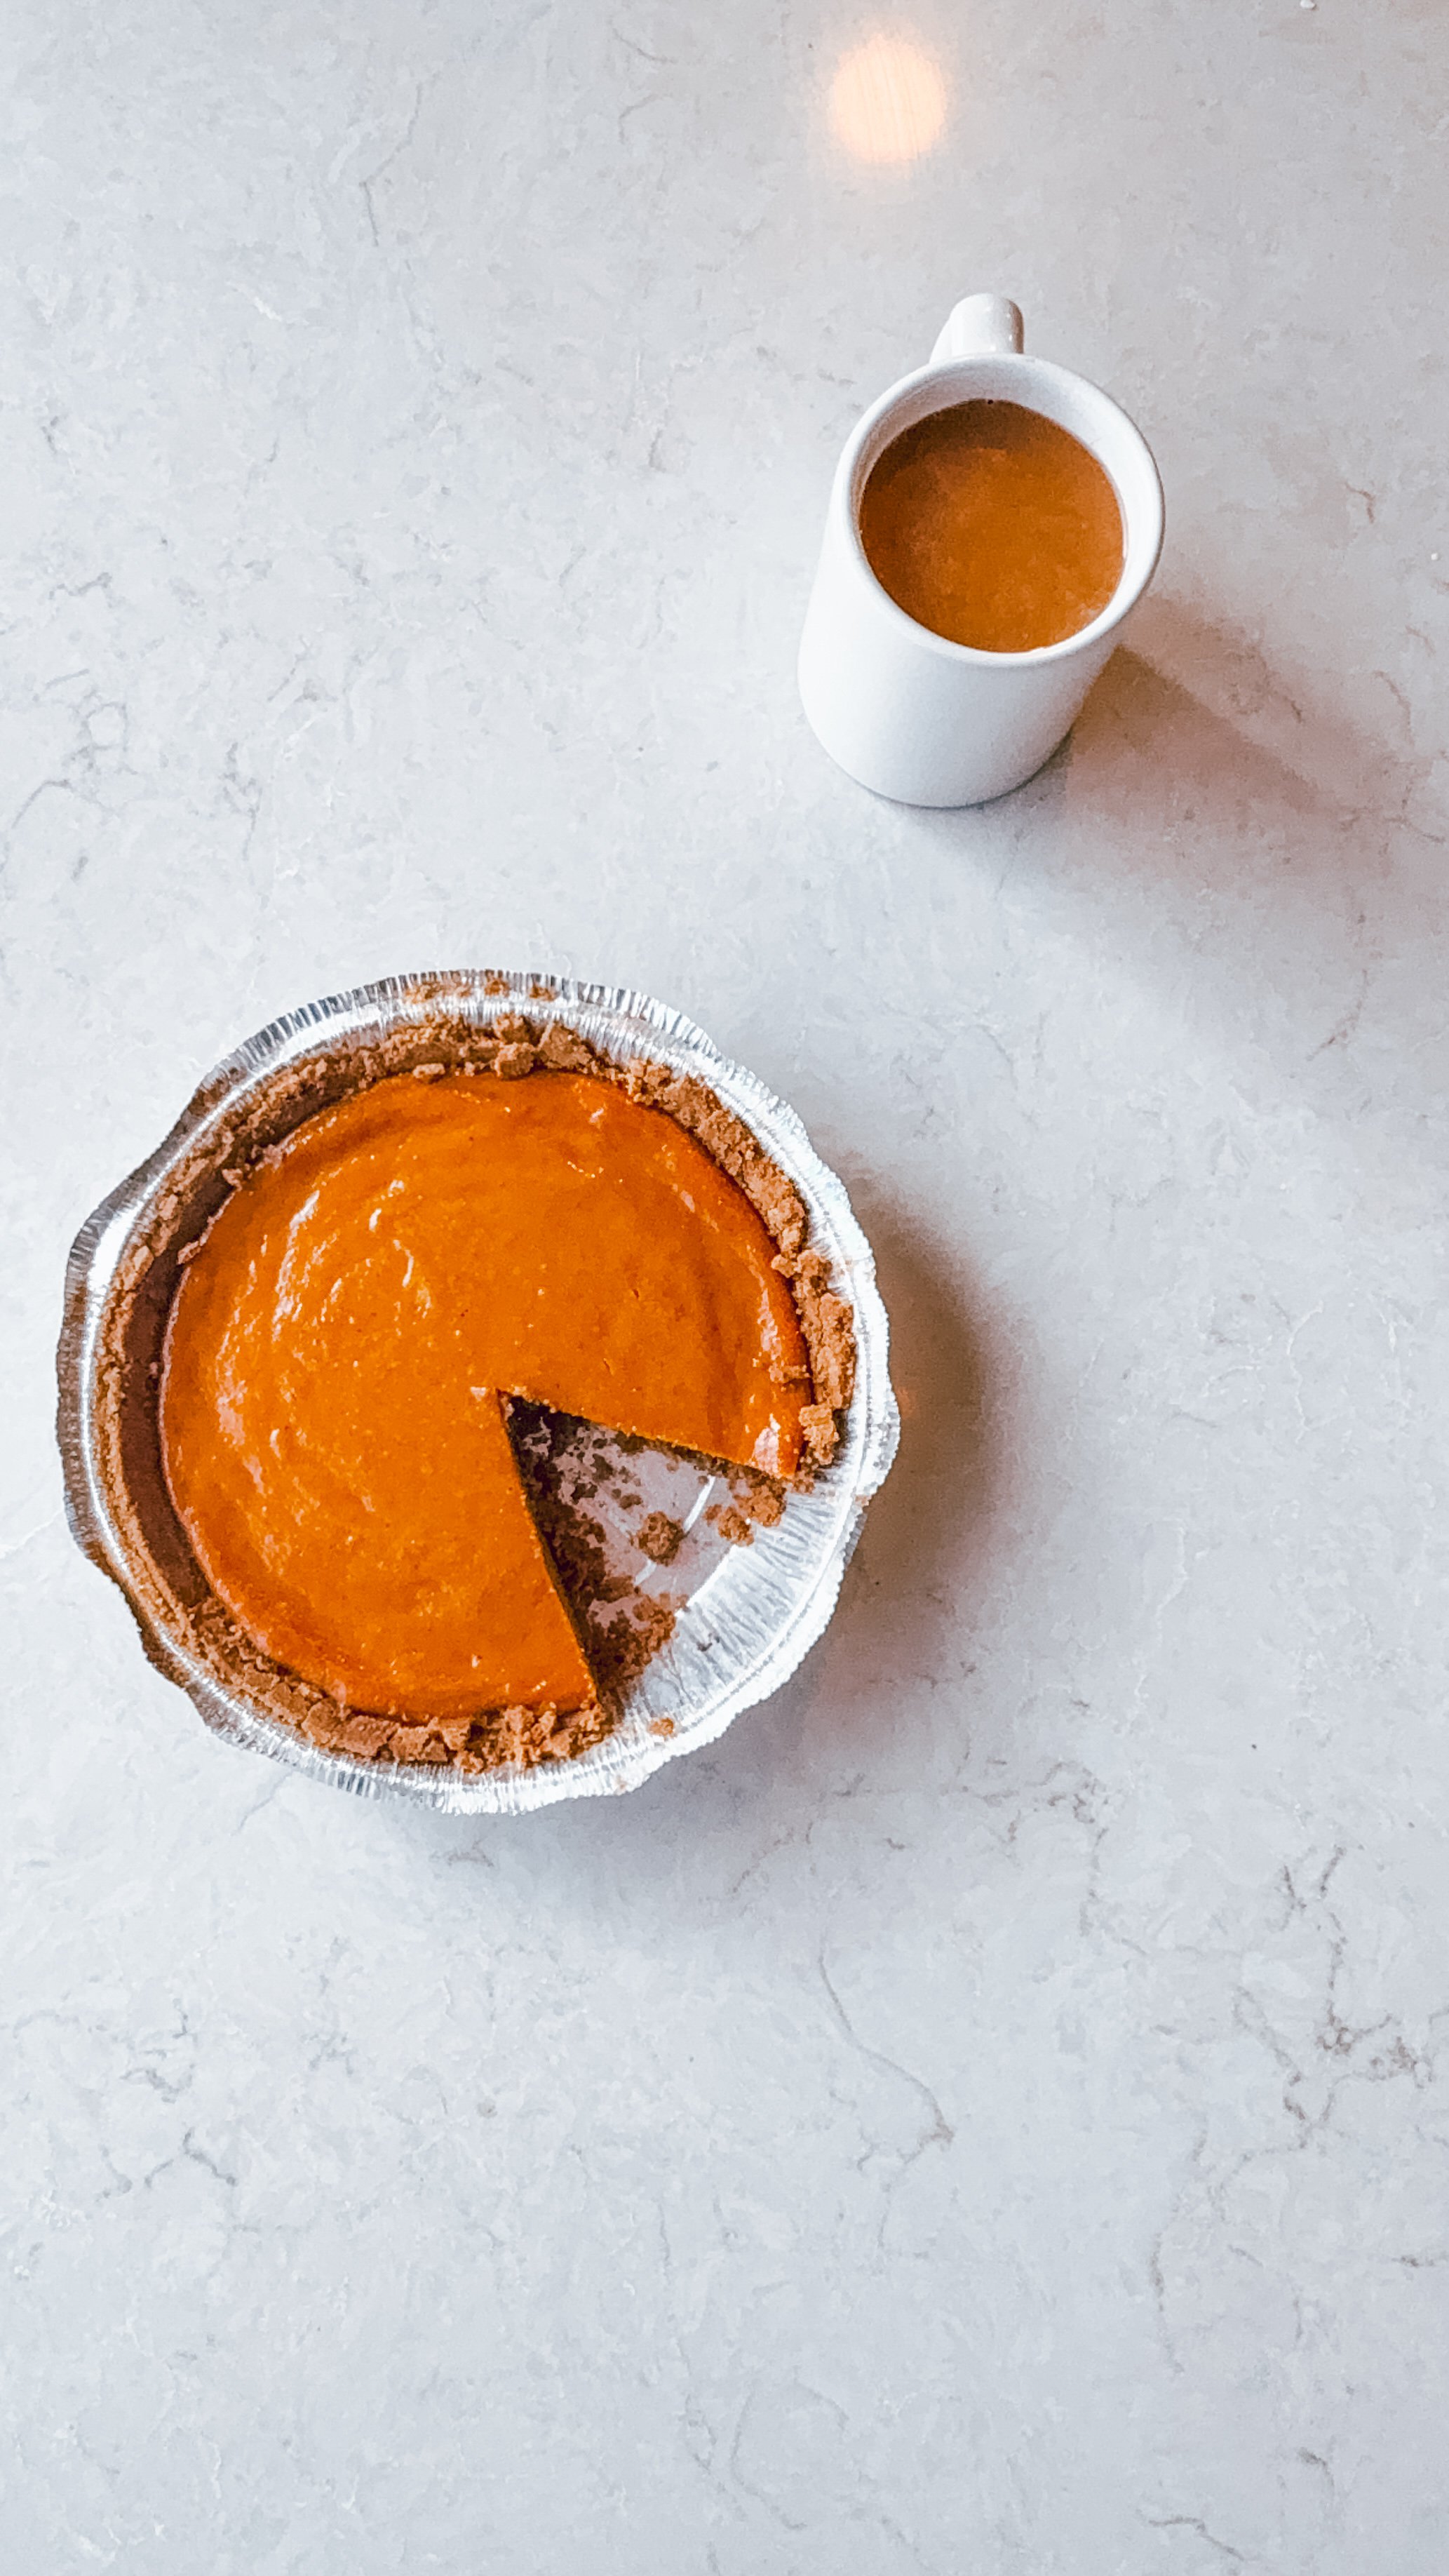
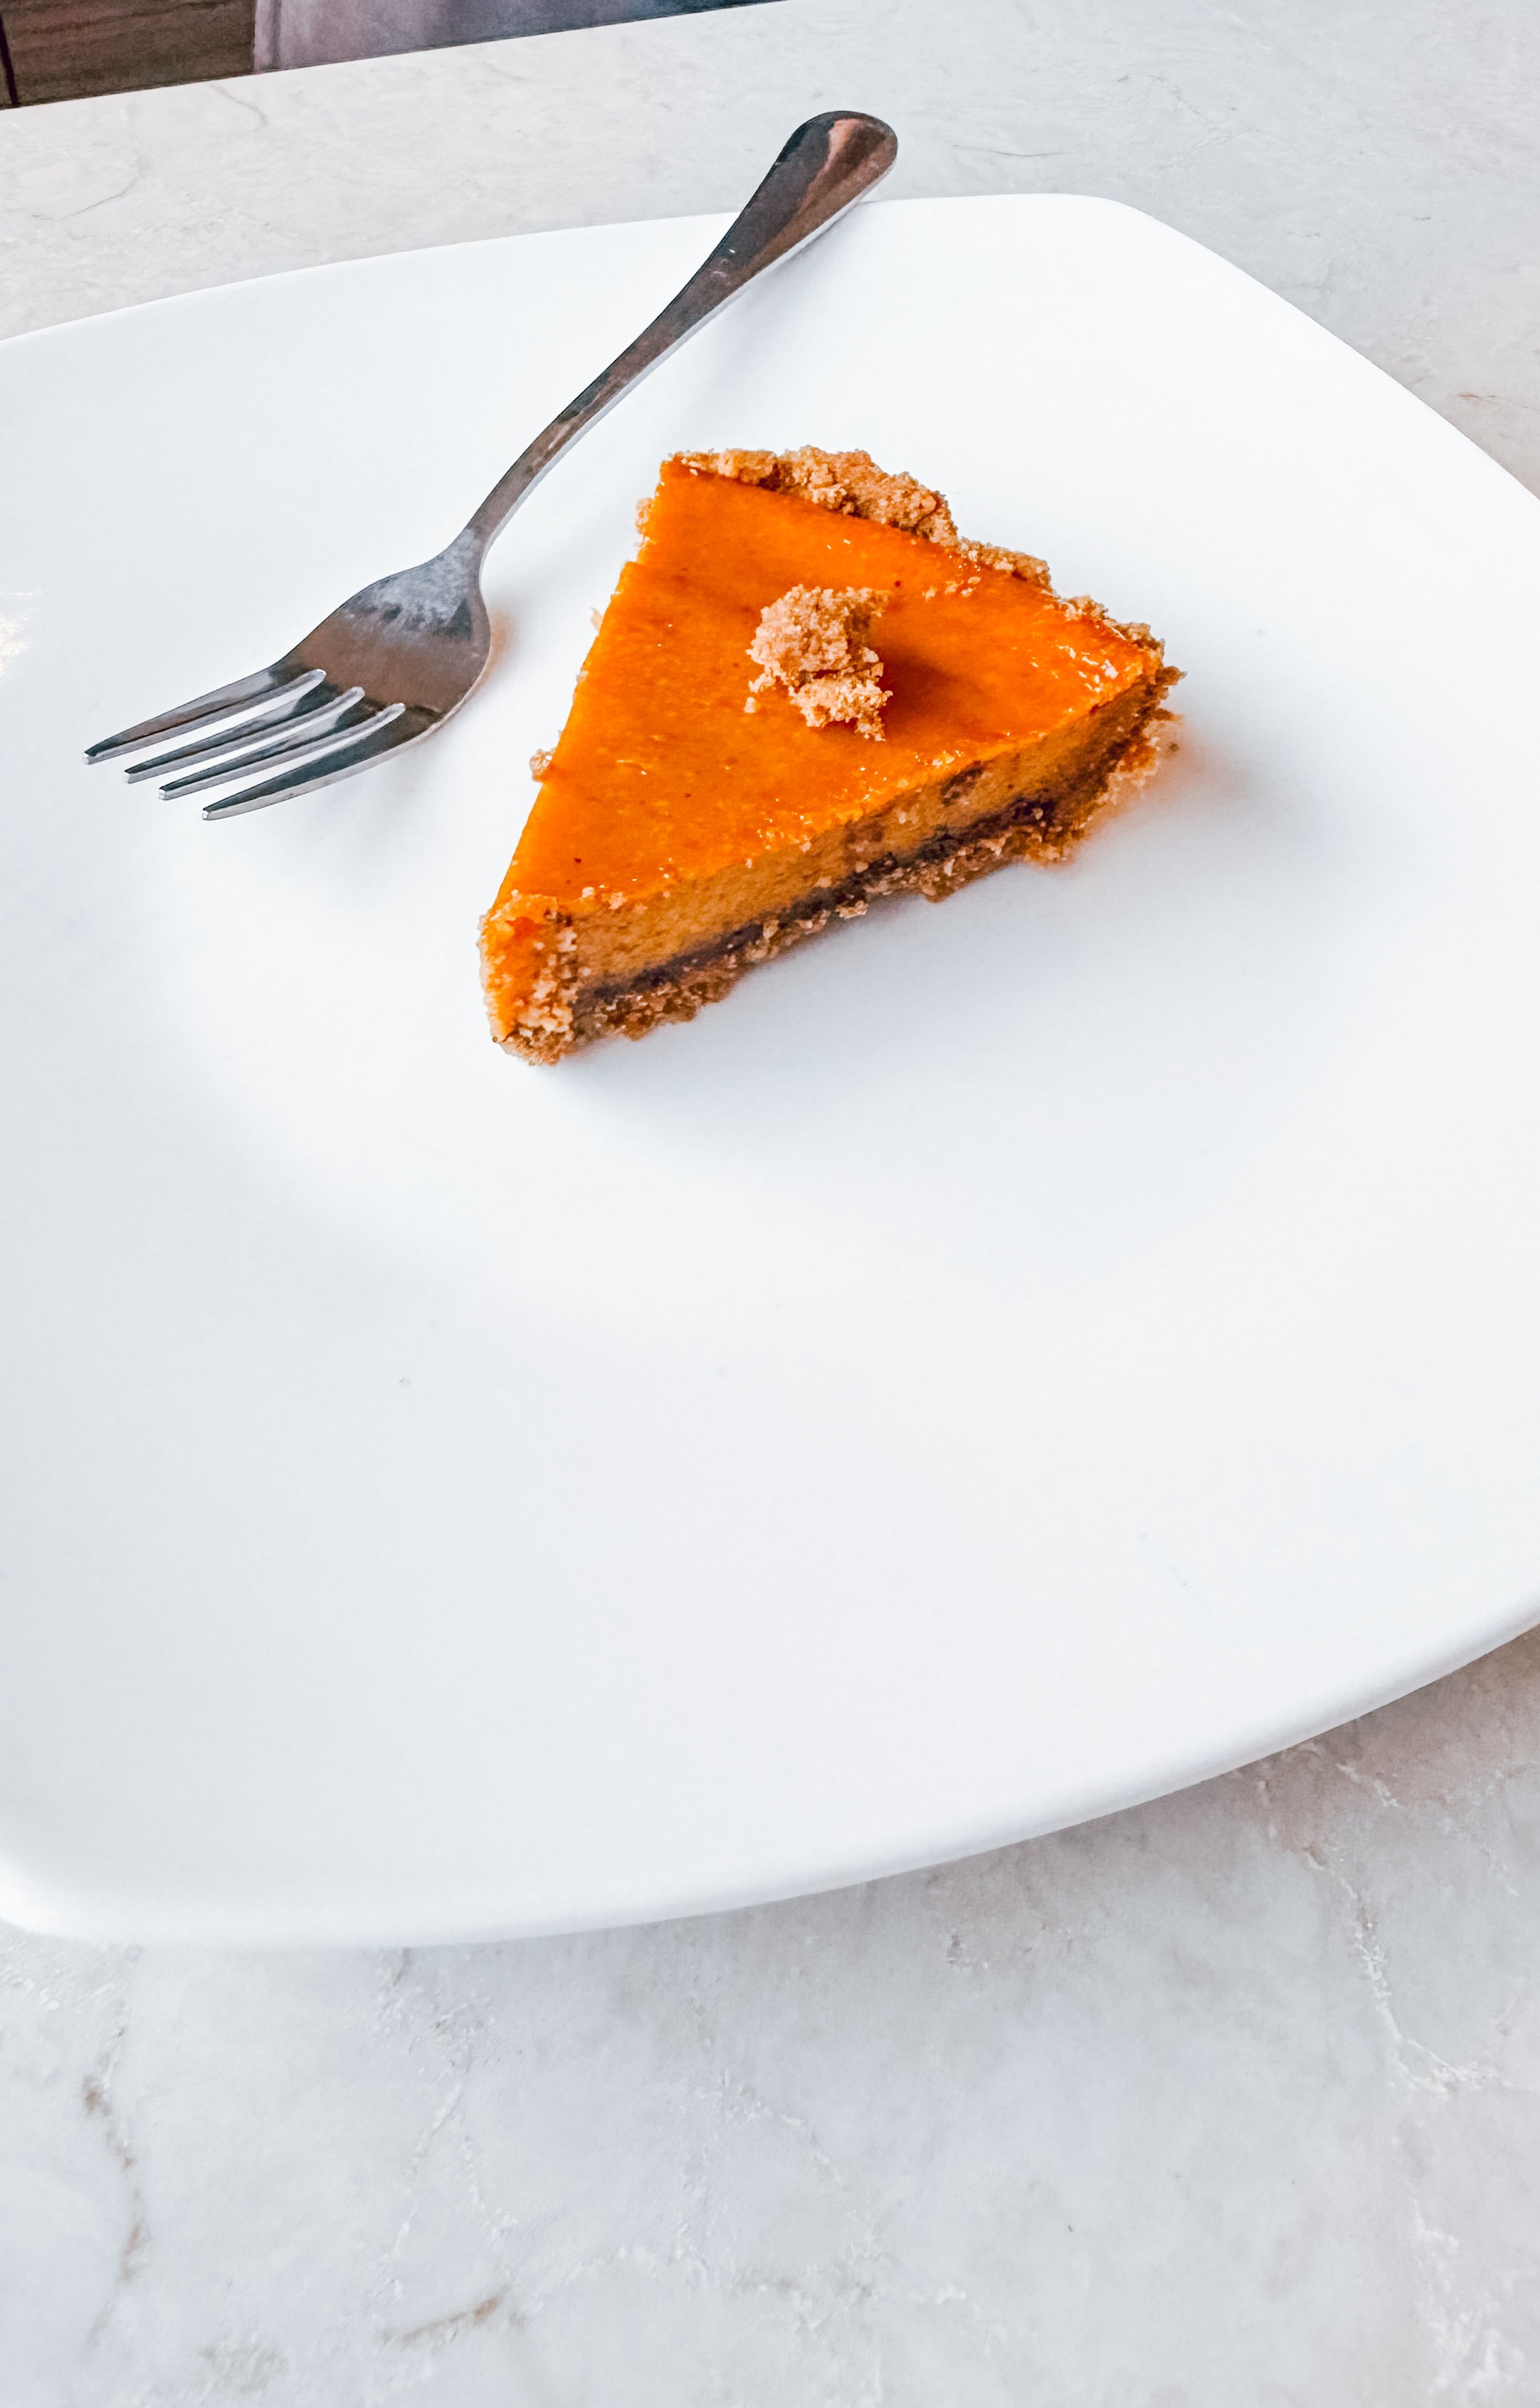
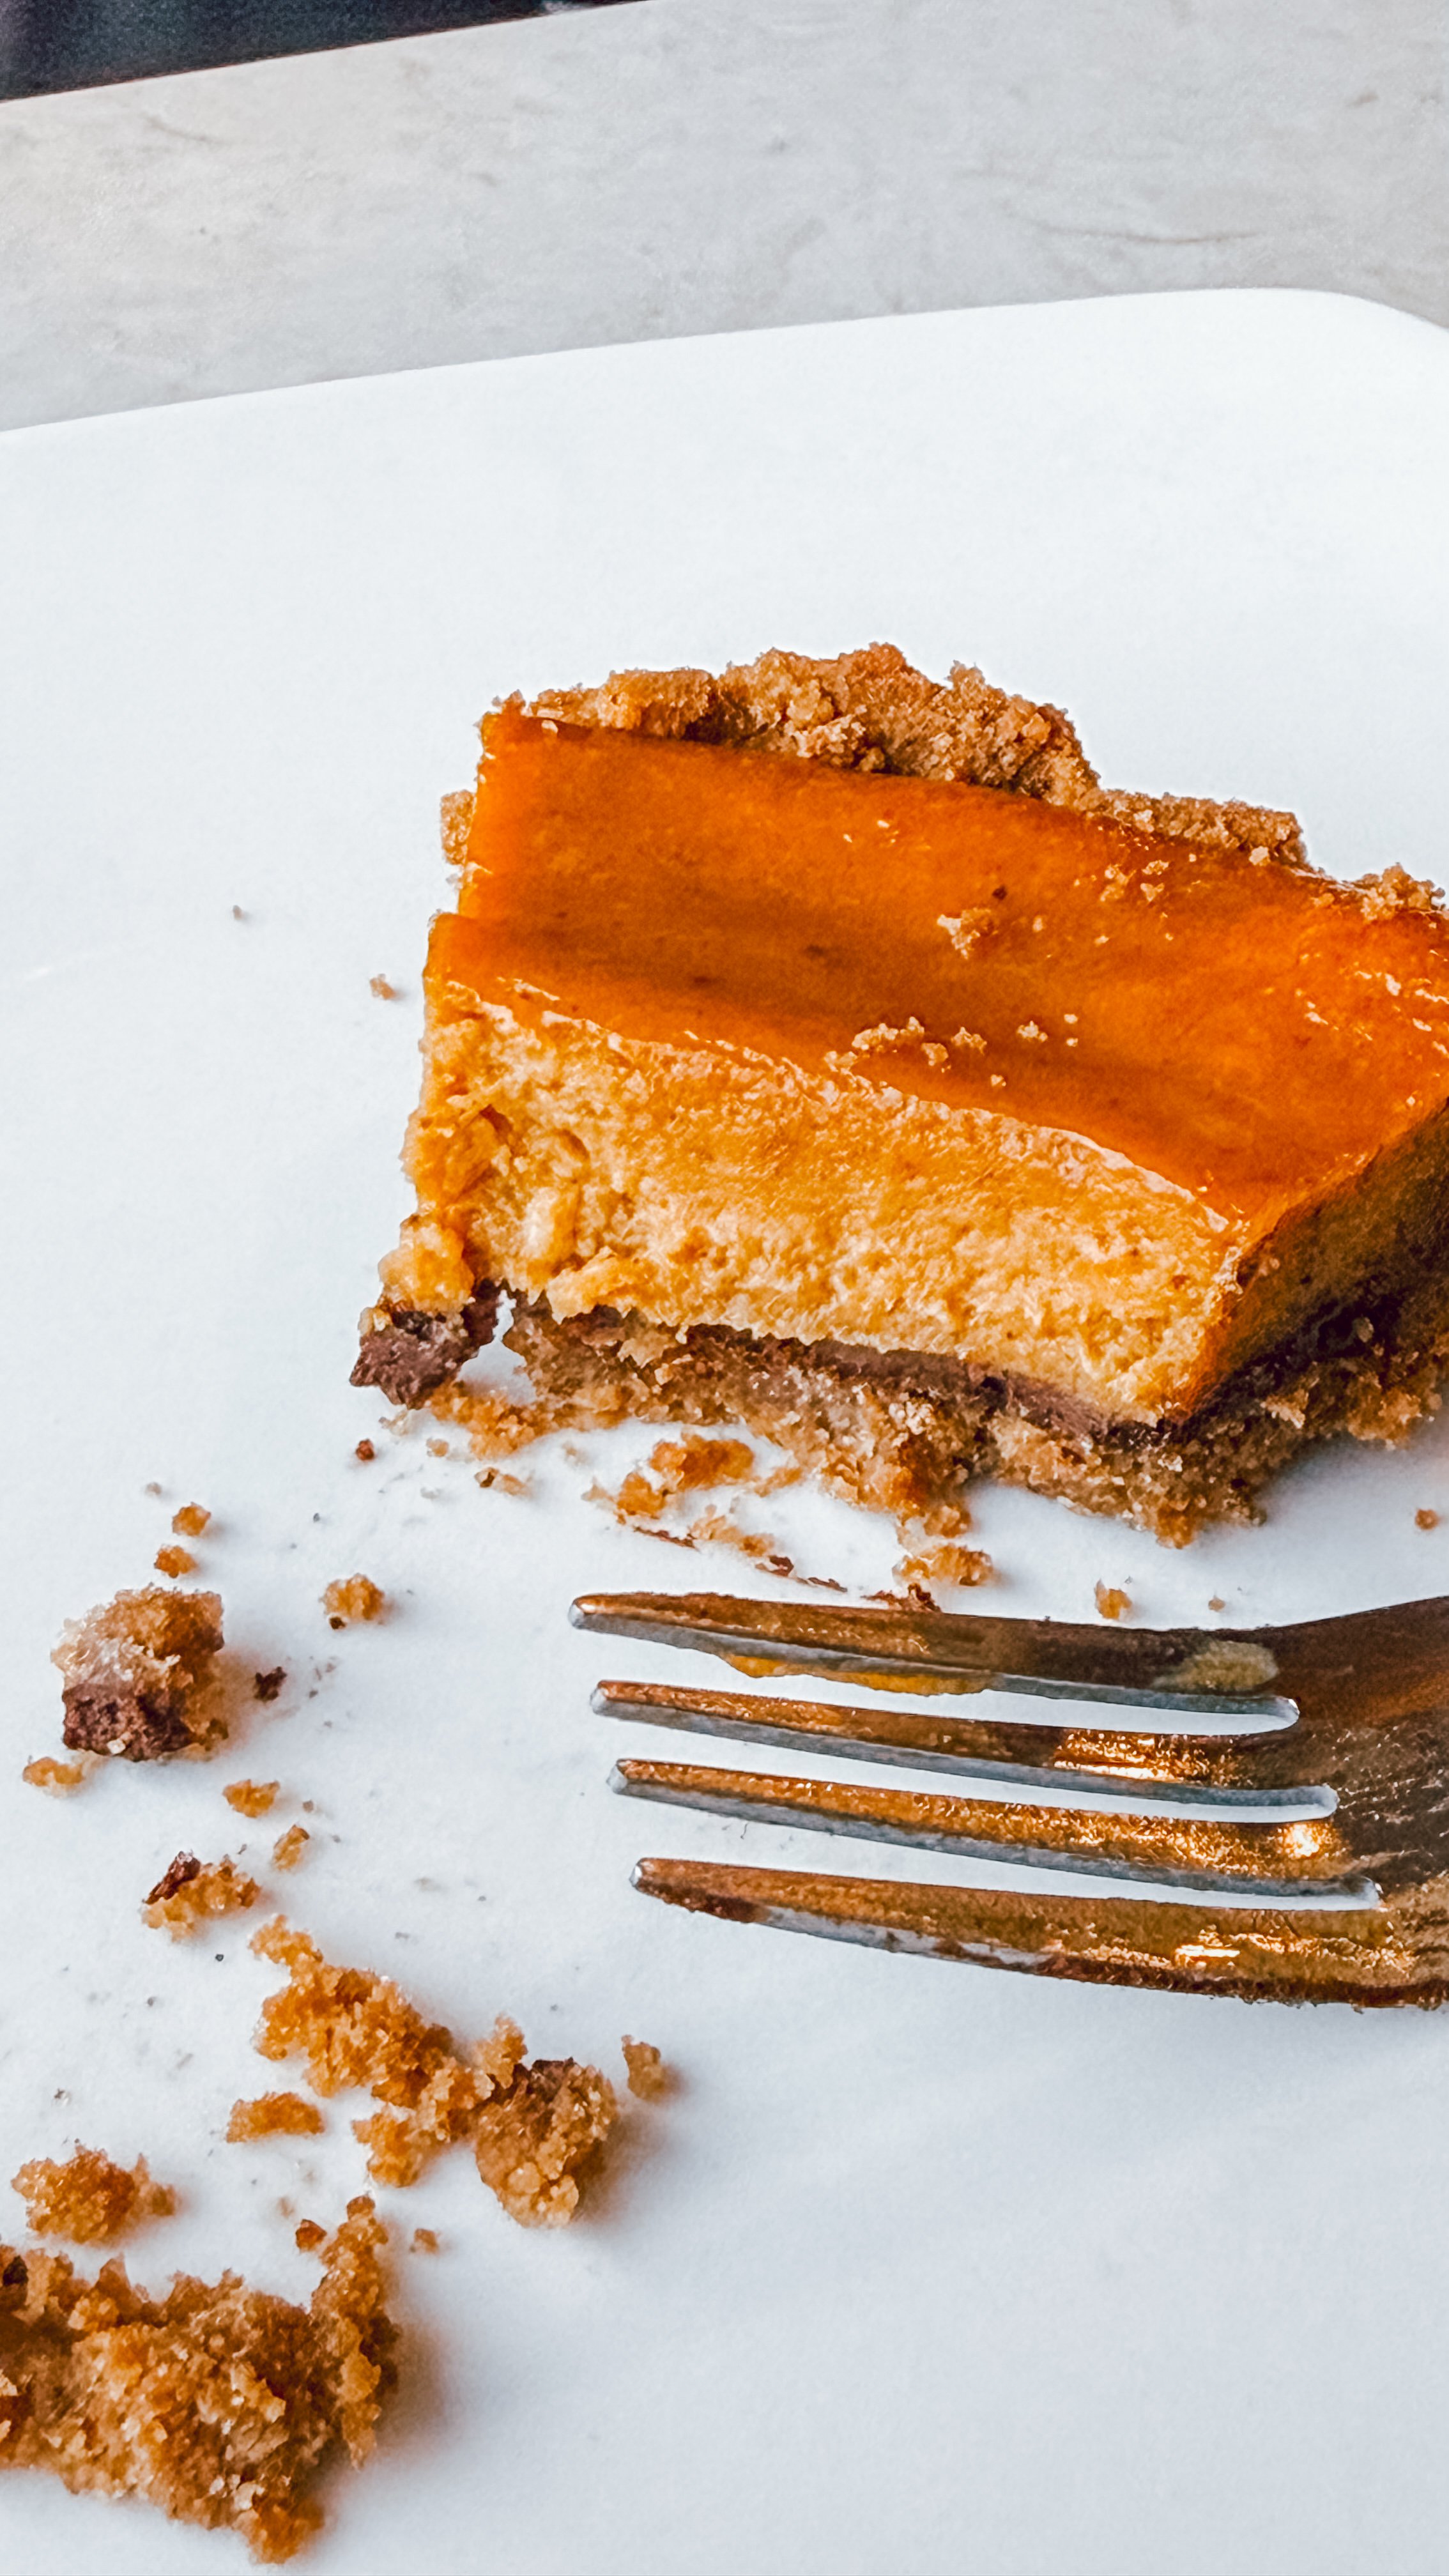
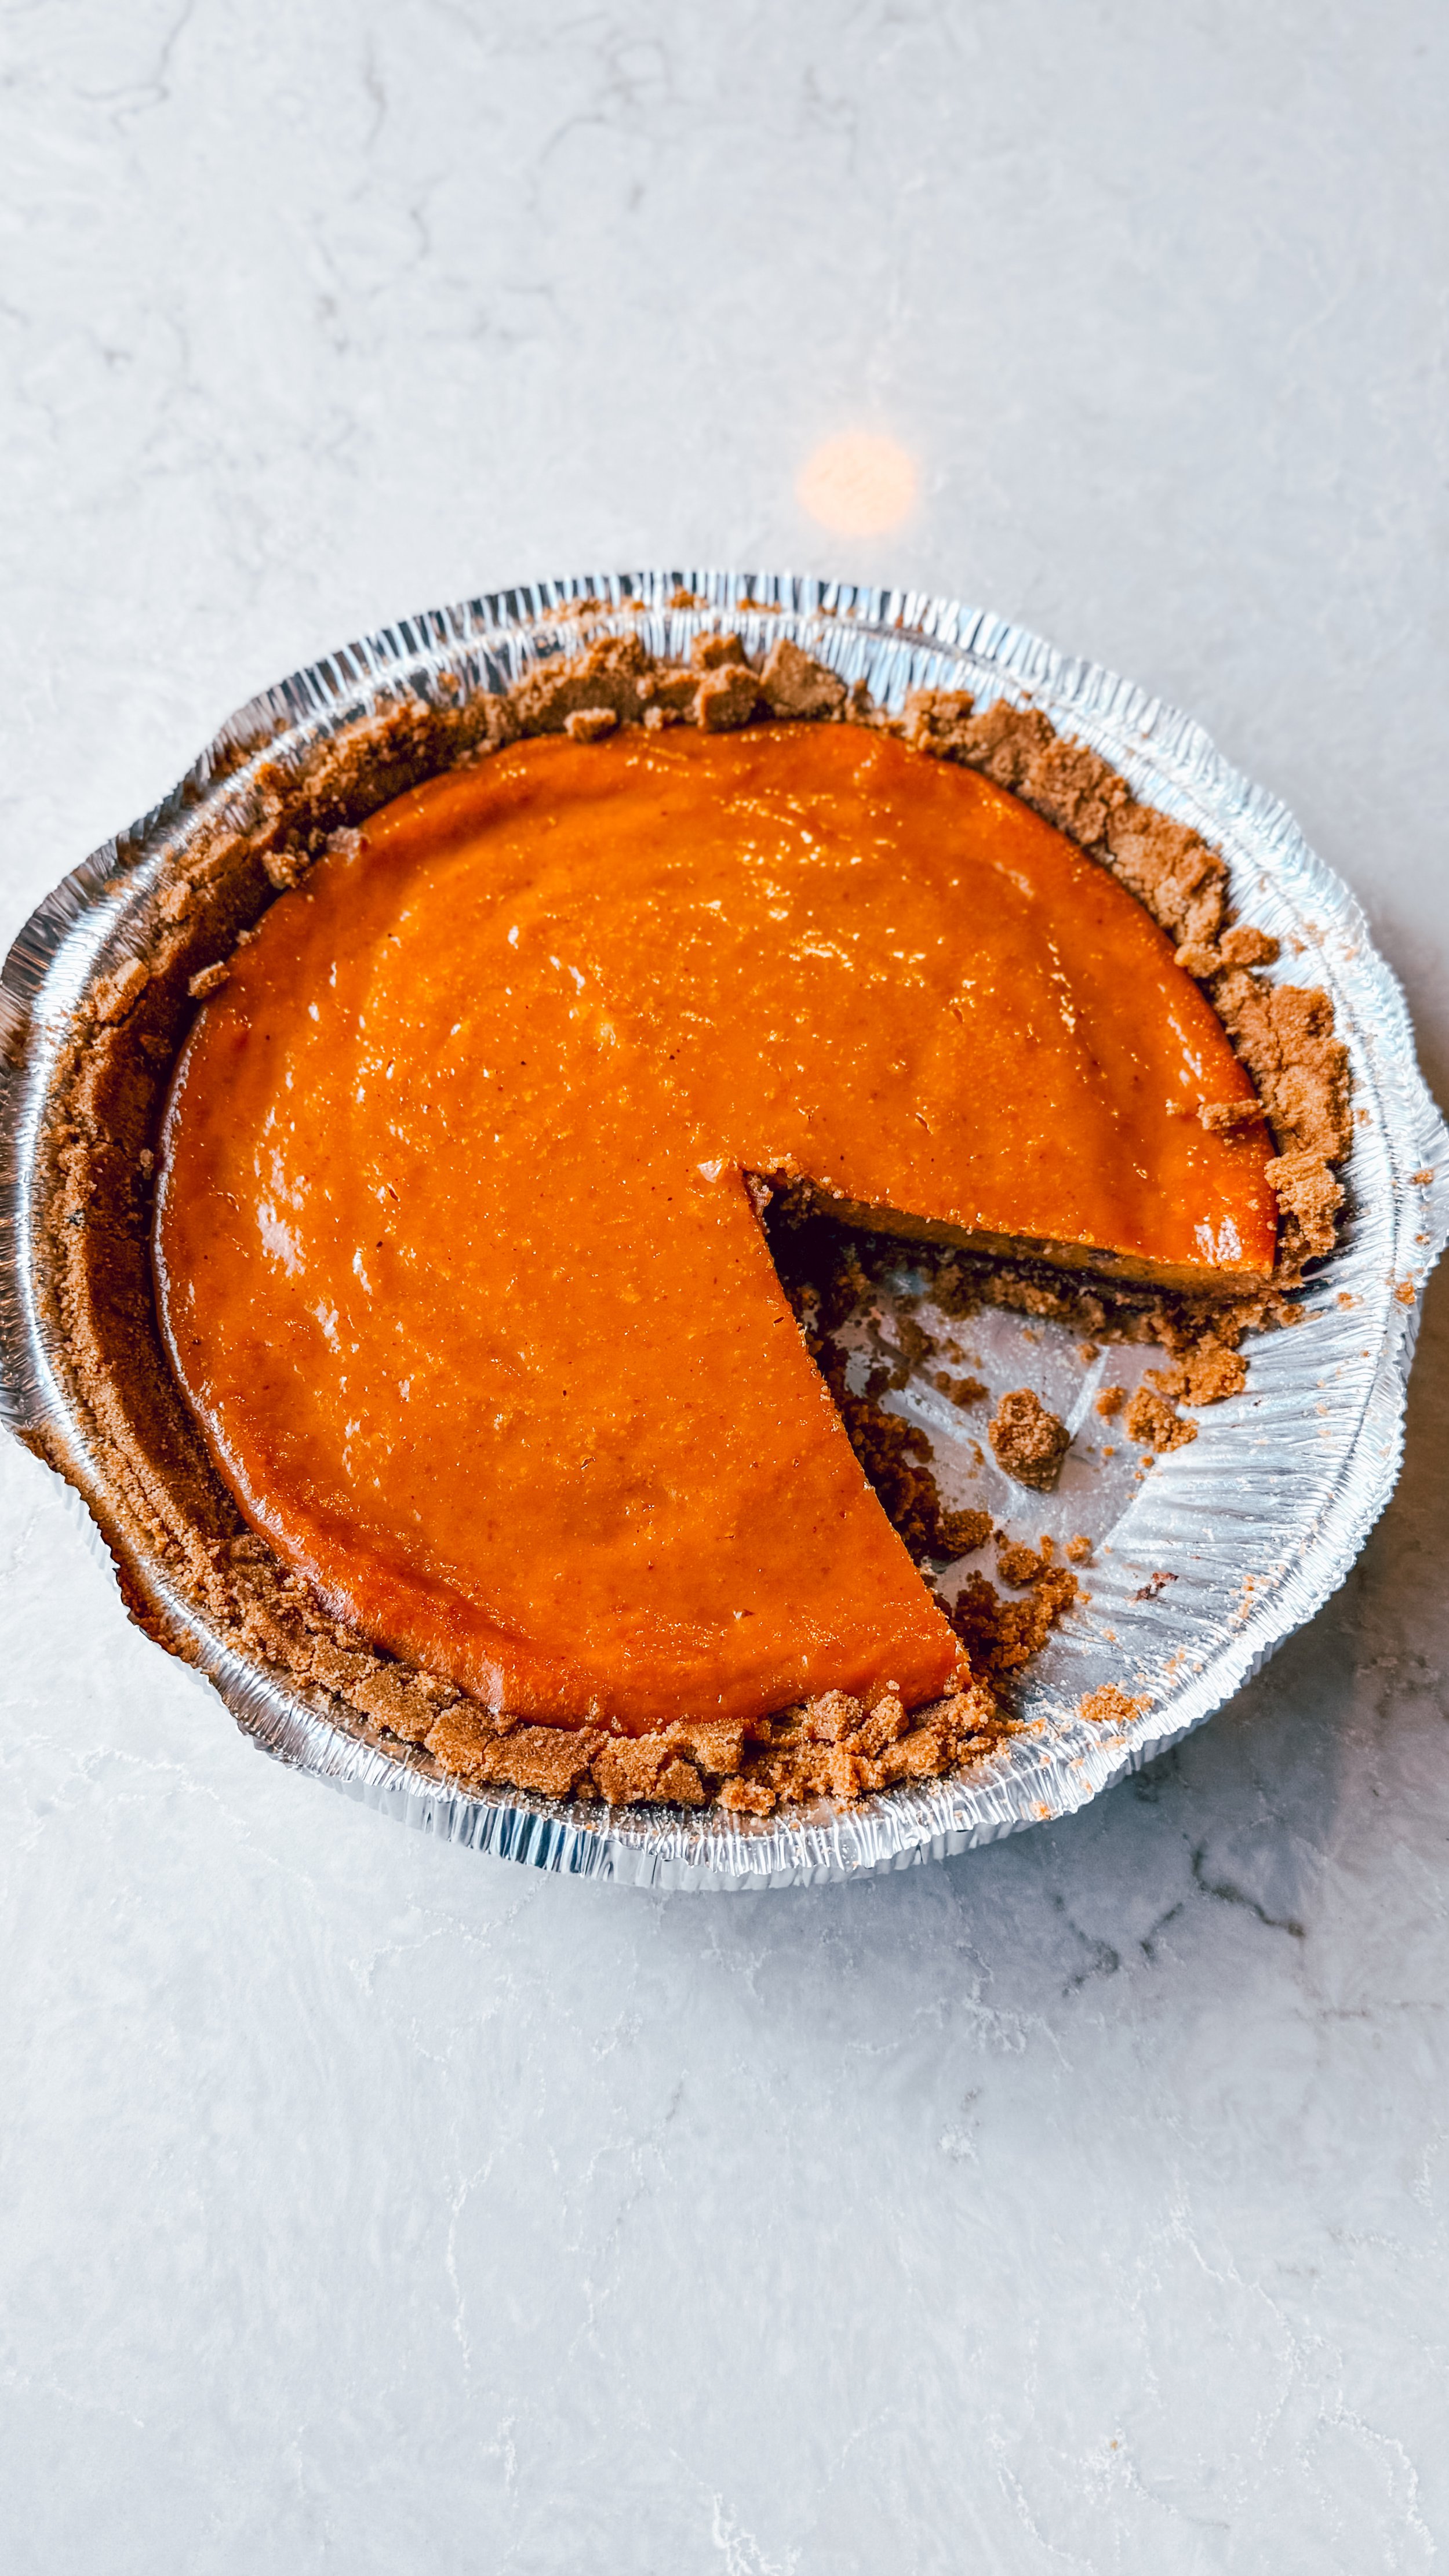
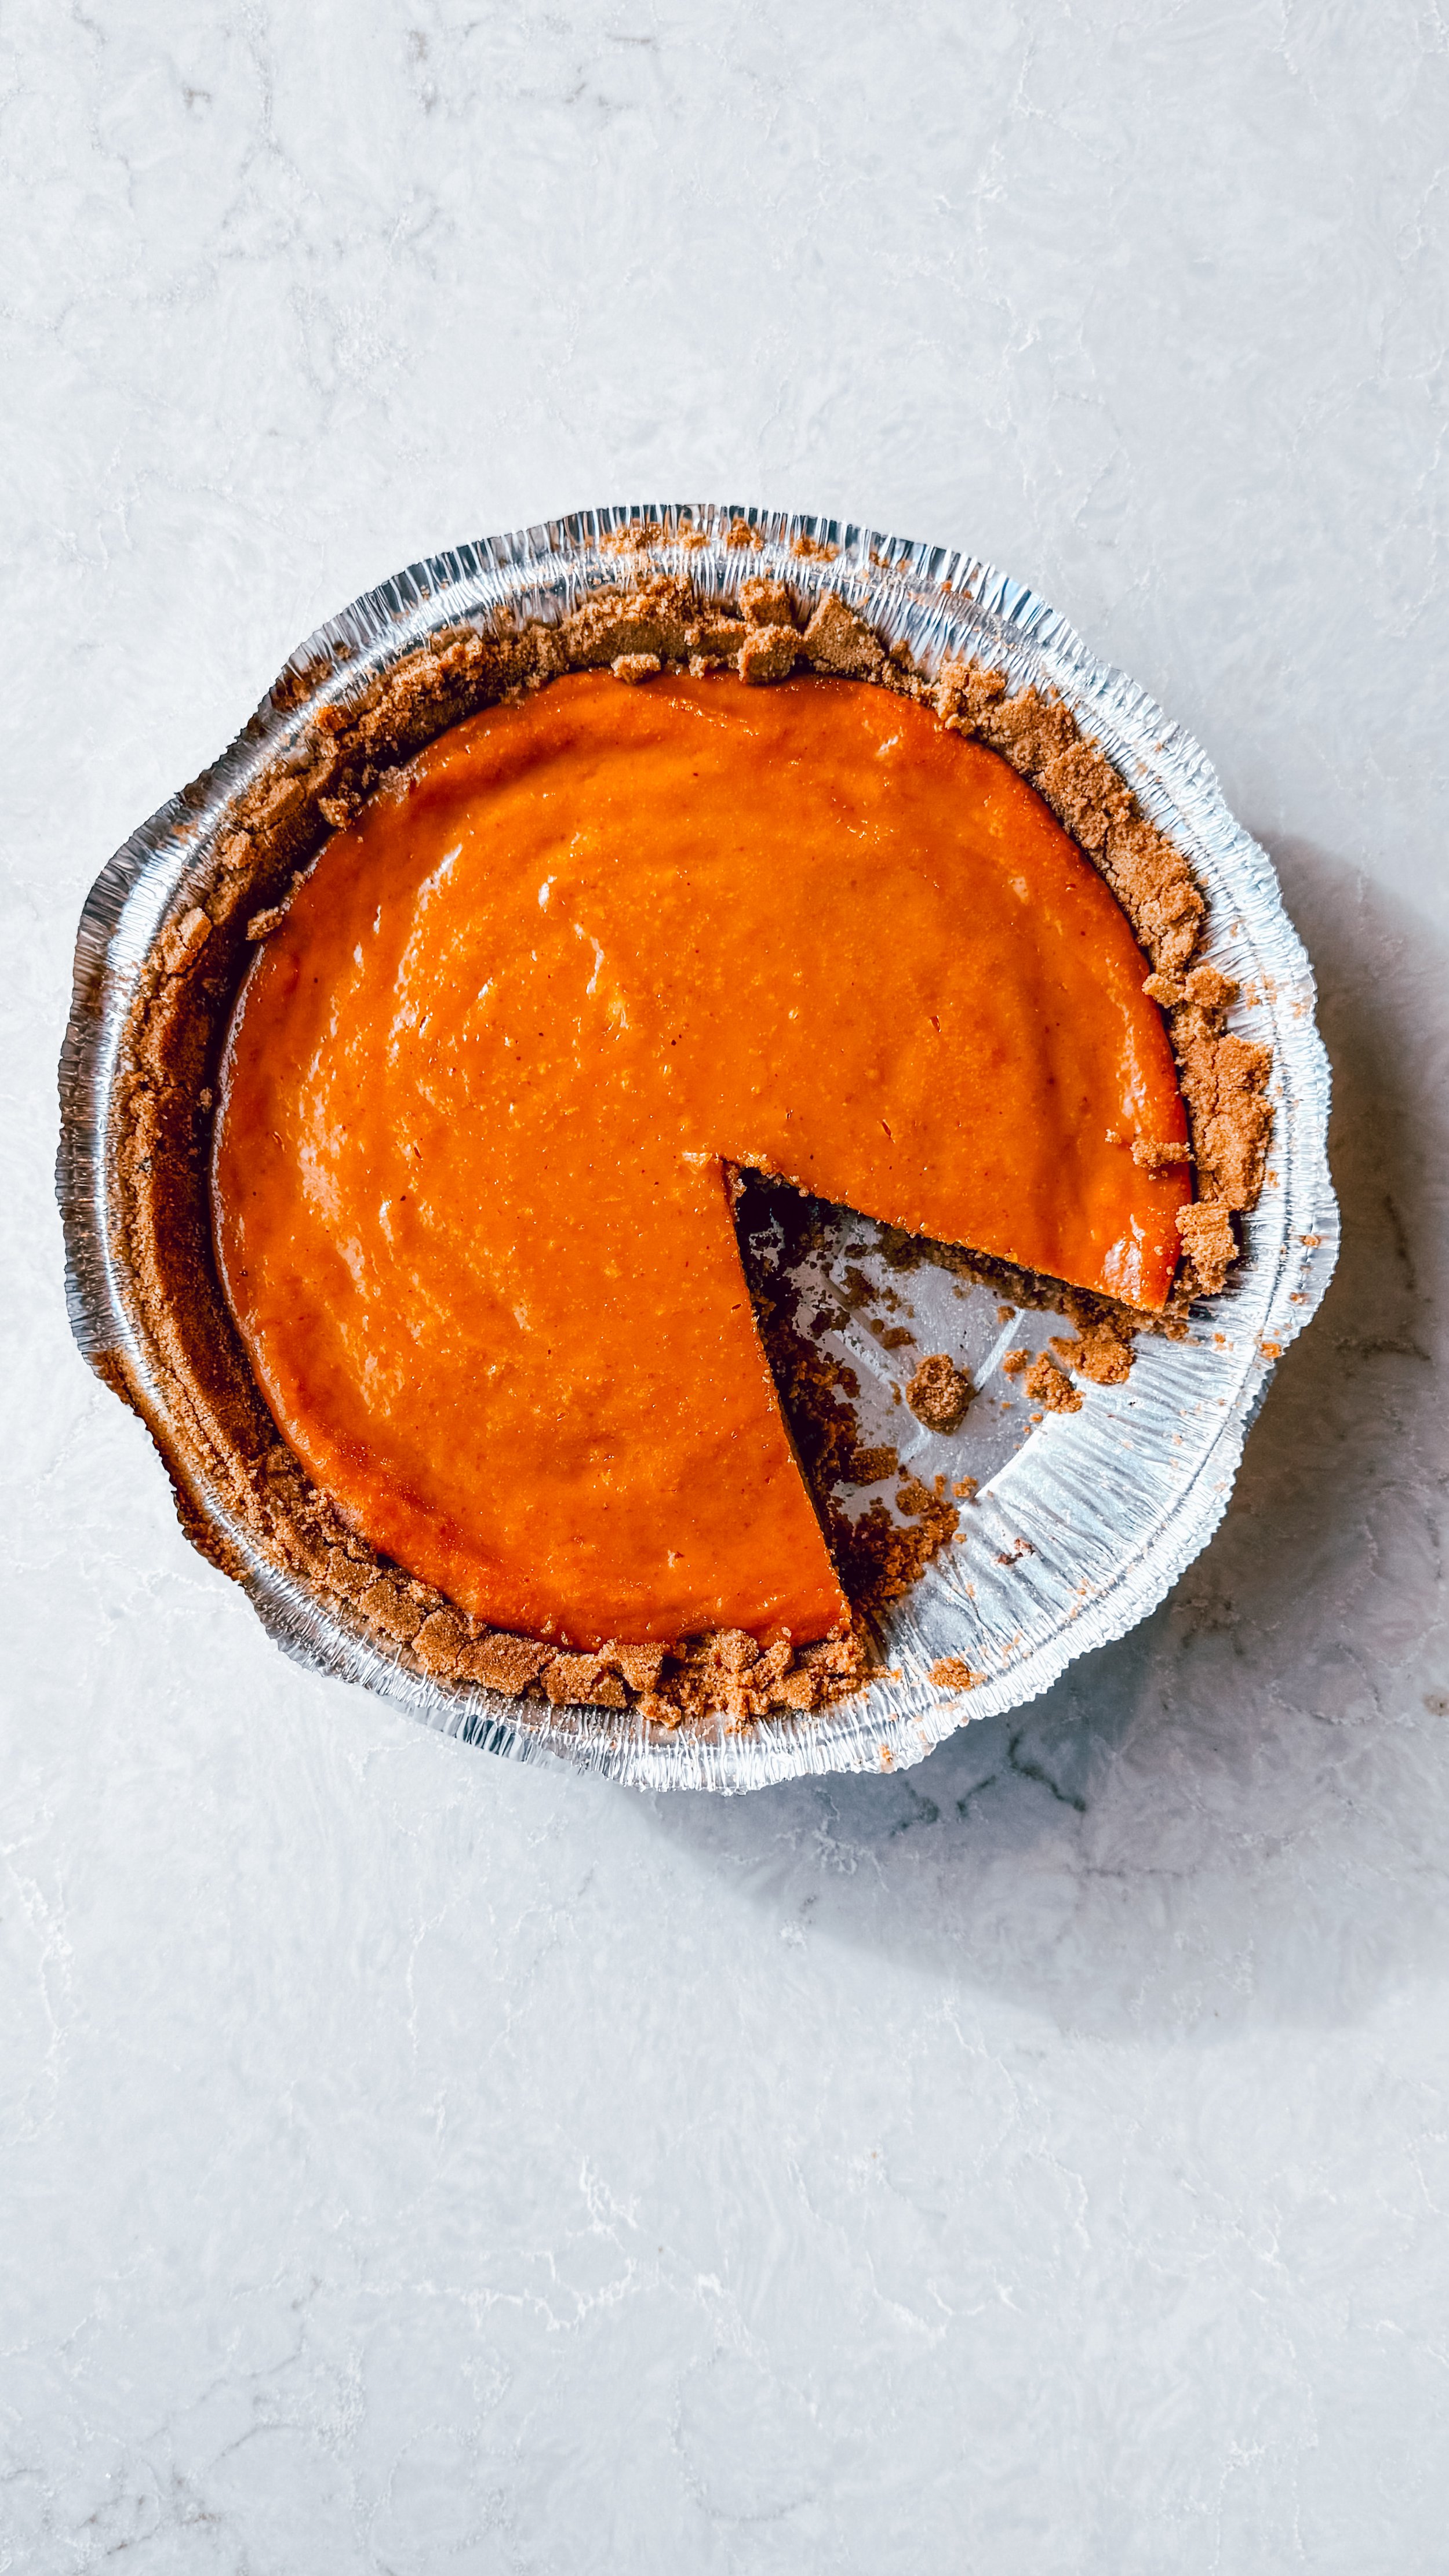
Pumpkin pie is one of those desserts that shows up on almost every holiday table. And while there's nothing wrong with a classic pumpkin pie, I wanted to make a version that brings a little more flavor and texture to the experience.
We're still using the ingredients you would expect: pumpkin, warming spices, eggs, and a graham cracker crust.
But we're also browning butter, reducing our pumpkin purée, adding a thin layer of salted dark chocolate, and swapping traditional condensed milk for sweetened condensed coconut milk.
None of these techniques are particularly complicated, but each one brings something different to the finished pie.
The browned butter gives us a toasted, nutty flavor. Reducing the pumpkin helps concentrate its natural flavor. The chocolate adds richness and contrast, while the coconut milk creates a silky custard with a little something unexpected.
Put them all together, and you've got a pumpkin pie that feels a little more gourmet without requiring a completely different set of ingredients.
And that's really what I wanted to show with this recipe.
Sometimes, elevating a dish is less about adding more ingredients and more about knowing what to do with the ones you already have.
How to Elevate a Store-Bought Graham Cracker Crust
I love a homemade graham cracker crust. You get to control the texture, how much butter goes into it, and how thick you want that crust to be.
But I also know that during the holidays, we don't always have time to make every single component from scratch.
So for this recipe, I intentionally started with a store-bought graham cracker crust.
The first thing we're gonna do is brown some butter.
When butter is heated, its water begins to evaporate and the milk solids start to toast. Those toasted milk solids develop a rich, nutty flavor through the Maillard reaction.
It's a simple technique that can make a big difference in everything from cookies to sauces.
By brushing a little of that browned butter onto our graham cracker crust and briefly toasting it in the oven, we're adding another layer of flavor without having to remake the entire crust.
The key is to use a light hand.
You don't want to saturate the graham crackers with butter, especially if you're using a premade crust that already contains plenty of fat.
Just a thin coating is enough.
And if you want to make this recipe completely from scratch, I've included a homemade crust option below.
Why We're Reducing the Pumpkin Purée
This is one of those little cooking techniques that I think more people should know about.
Pumpkin purée naturally contains quite a bit of water, and that moisture can dilute some of the pumpkin flavor when we combine it with the rest of our custard ingredients.
So before making our filling, we're gonna cook the pumpkin over medium-low heat for a few minutes.
As the pumpkin warms, some of that excess moisture evaporates.
This concentrates the flavor and gives us a slightly thicker base to work with.
We're not trying to make pumpkin butter or cook the purée until it's dry. Just a few minutes of gentle heat while stirring frequently is enough to make a difference.
And because we're using sweetened condensed coconut milk, which is already rich and creamy, this helps us create a custard with a more concentrated pumpkin flavor.
Just remember to let the pumpkin cool before adding the eggs so you don’t scramble them!
Cooking Tip: Water tastes like nothing, so the more you can remove it from cooking, the better!
Dark Chocolate and Pumpkin: An Unexpected Combination
Now, I know chocolate isn't exactly traditional when it comes to pumpkin pie.
But hear me out.
Pumpkin has a mild, earthy flavor, and we're pairing it with sweetened condensed coconut milk and warming spices.
Adding a thin layer of dark chocolate gives us something slightly bitter and rich to balance all that sweetness.
And the flaky sea salt?
That's what really brings the chocolate forward.
We're not making a thick chocolate ganache or trying to turn this into a chocolate pie.
We're simply creating a thin layer between the graham cracker crust and the pumpkin filling.
I prefer using plain melted dark chocolate rather than adding heavy cream because I want that chocolate to firm up when the pie is chilled.
It also creates a barrier between the custard and the graham crackers, helping protect the crust from some of the moisture in the filling.
The chocolate will soften during baking, but it firms up again as the pie chills.
That little contrast between the crumbly crust, rich chocolate, and silky pumpkin filling is one of my favorite parts of this recipe.
The Secret Ingredient: Sweetened Condensed Coconut Milk
If you've never baked with sweetened condensed coconut milk, this is a great recipe to try it in.
Traditional pumpkin pie recipes often call for evaporated milk, cream, or sweetened condensed milk.
For this version, we're using sweetened condensed coconut milk.
It has a thick, creamy consistency that blends beautifully with the pumpkin and warming spices. And surprisingly, the finished pie doesn't taste like coconut at all!
Instead, I found that it lifts the entire flavor profile, bringing out the pumpkin and spices while complementing the nutty browned butter crust and dark chocolate.
Because it's already sweetened, we don't need to add any extra sugar.
Can you use regular sweetened condensed milk?
Absolutely!
If that's what you have on hand, use it. The pie will still be rich and creamy, but I personally love what the coconut version brings to the overall flavor without actually making the pie taste like coconut.
Just make sure you're using sweetened condensed milk, not evaporated milk. They're different products and won't behave the same way in this recipe.
Homemade Browned Butter Graham Cracker Crust
If you'd rather make the crust from scratch, here's how I would do it.
Ingredients
1½ cups finely crushed graham crackers
5 tablespoons browned butter
¼ teaspoon sea salt
Instructions
Brown the butter over medium heat until golden and nutty.
Combine the graham cracker crumbs and sea salt in a bowl.
Pour in the browned butter and mix until the crumbs resemble wet sand.
If the mixture seems too dry to hold together, add a little more melted butter.
Press firmly into the bottom and sides of a 9-inch pie dish.
Bake at 350°F for 8–10 minutes.
Allow to cool completely before adding the chocolate layer.
I think this version would be even better because you can build that browned butter flavor directly into the crust.
But the store-bought version is a great alternative when you want to save a little time.
Tips for Making the Best Pumpkin Pie
Don't skip reducing the pumpkin. This is one of the easiest ways to concentrate the flavor without adding more ingredients.
Let your ingredients cool. Both the pumpkin purée and the toasted crust should cool before moving on to the next steps.
Use dark chocolate. I recommend something around 60–70% cacao. Milk chocolate will work, but it will make the pie sweeter.
Keep the chocolate thin. A little goes a long way, especially when you're combining it with a rich custard.
Don't overbake the filling. The edges should be set, but the center should still have a slight jiggle when you remove it from the oven.
Give it time to chill. This is a custard pie, and chilling is what helps it fully set and gives you cleaner slices.
Make it the day before. This is actually a great holiday dessert to prepare ahead of time.
Frequently Asked Questions
Does the Pie Taste Like Coconut?
Not at all! And that's actually one of the things I loved most about how this recipe turned out.
Even though we're using an entire can of sweetened condensed coconut milk, the finished pie doesn't have a noticeable coconut flavor.
Instead, it adds richness and lifts the overall flavor profile, allowing the pumpkin, warming spices, browned butter, and dark chocolate to shine.
It's one of those ingredients that makes a difference without necessarily being something you can identify in the finished dish.
Can I use pumpkin pie filling instead of pumpkin purée?
I recommend using pure pumpkin purée for this recipe.
Canned pumpkin pie filling already contains added sugar and spices, which can make the finished pie overly sweet when combined with condensed coconut milk.
Can I use regular condensed milk?
Yes! Regular sweetened condensed milk works as a substitute.
Just keep in mind that the flavor will be slightly different without the coconut.
Do I need to add cream to the chocolate?
No.
I actually prefer using just melted dark chocolate for this recipe.
It creates a thin layer that firms up when chilled, rather than a softer chocolate ganache.
Can I make this ahead of time?
Absolutely.
In fact, I recommend making it the day before you plan to serve it.
The custard needs time to chill and set, so preparing it ahead makes holiday cooking a little easier.
How should I store leftover pumpkin pie?
Store the pie covered in the refrigerator for up to 3–4 days.
Because this is an egg-based custard, it shouldn't be left sitting at room temperature for extended periods.
Can I use pumpkin pie spice instead?
Yes. You can substitute approximately 2 teaspoons of pumpkin pie spice for the individual cinnamon, ginger, nutmeg, and cloves.
A Little Something Different for Your Holiday Table
I think one of the best parts of cooking is learning how small changes can completely transform a familiar recipe.
We didn't reinvent pumpkin pie here.
We took a classic holiday favorite and used a few techniques to bring out more of what makes those ingredients delicious in the first place.
A little browned butter for nuttiness, reduced pumpkin for a more concentrated flavor, dark chocolate and flaky sea salt for contrast, and sweetened condensed coconut milk for a rich, silky filling.
And while I would personally choose a homemade graham cracker crust next time, I love that this recipe shows how you can take a store-bought option and make it feel a little more special.
That's what I want people to take away from cooking with real food.
You don't always need more ingredients or more complicated recipes. Sometimes, you just need to understand how to get the most flavor out of what you're already using.
Cheers to your holiday season, and happy cooking!
Cook With Real Food | Back to Source Living