

Understanding Basic Cooking Techniques: How to Cook Real Food With Confidence
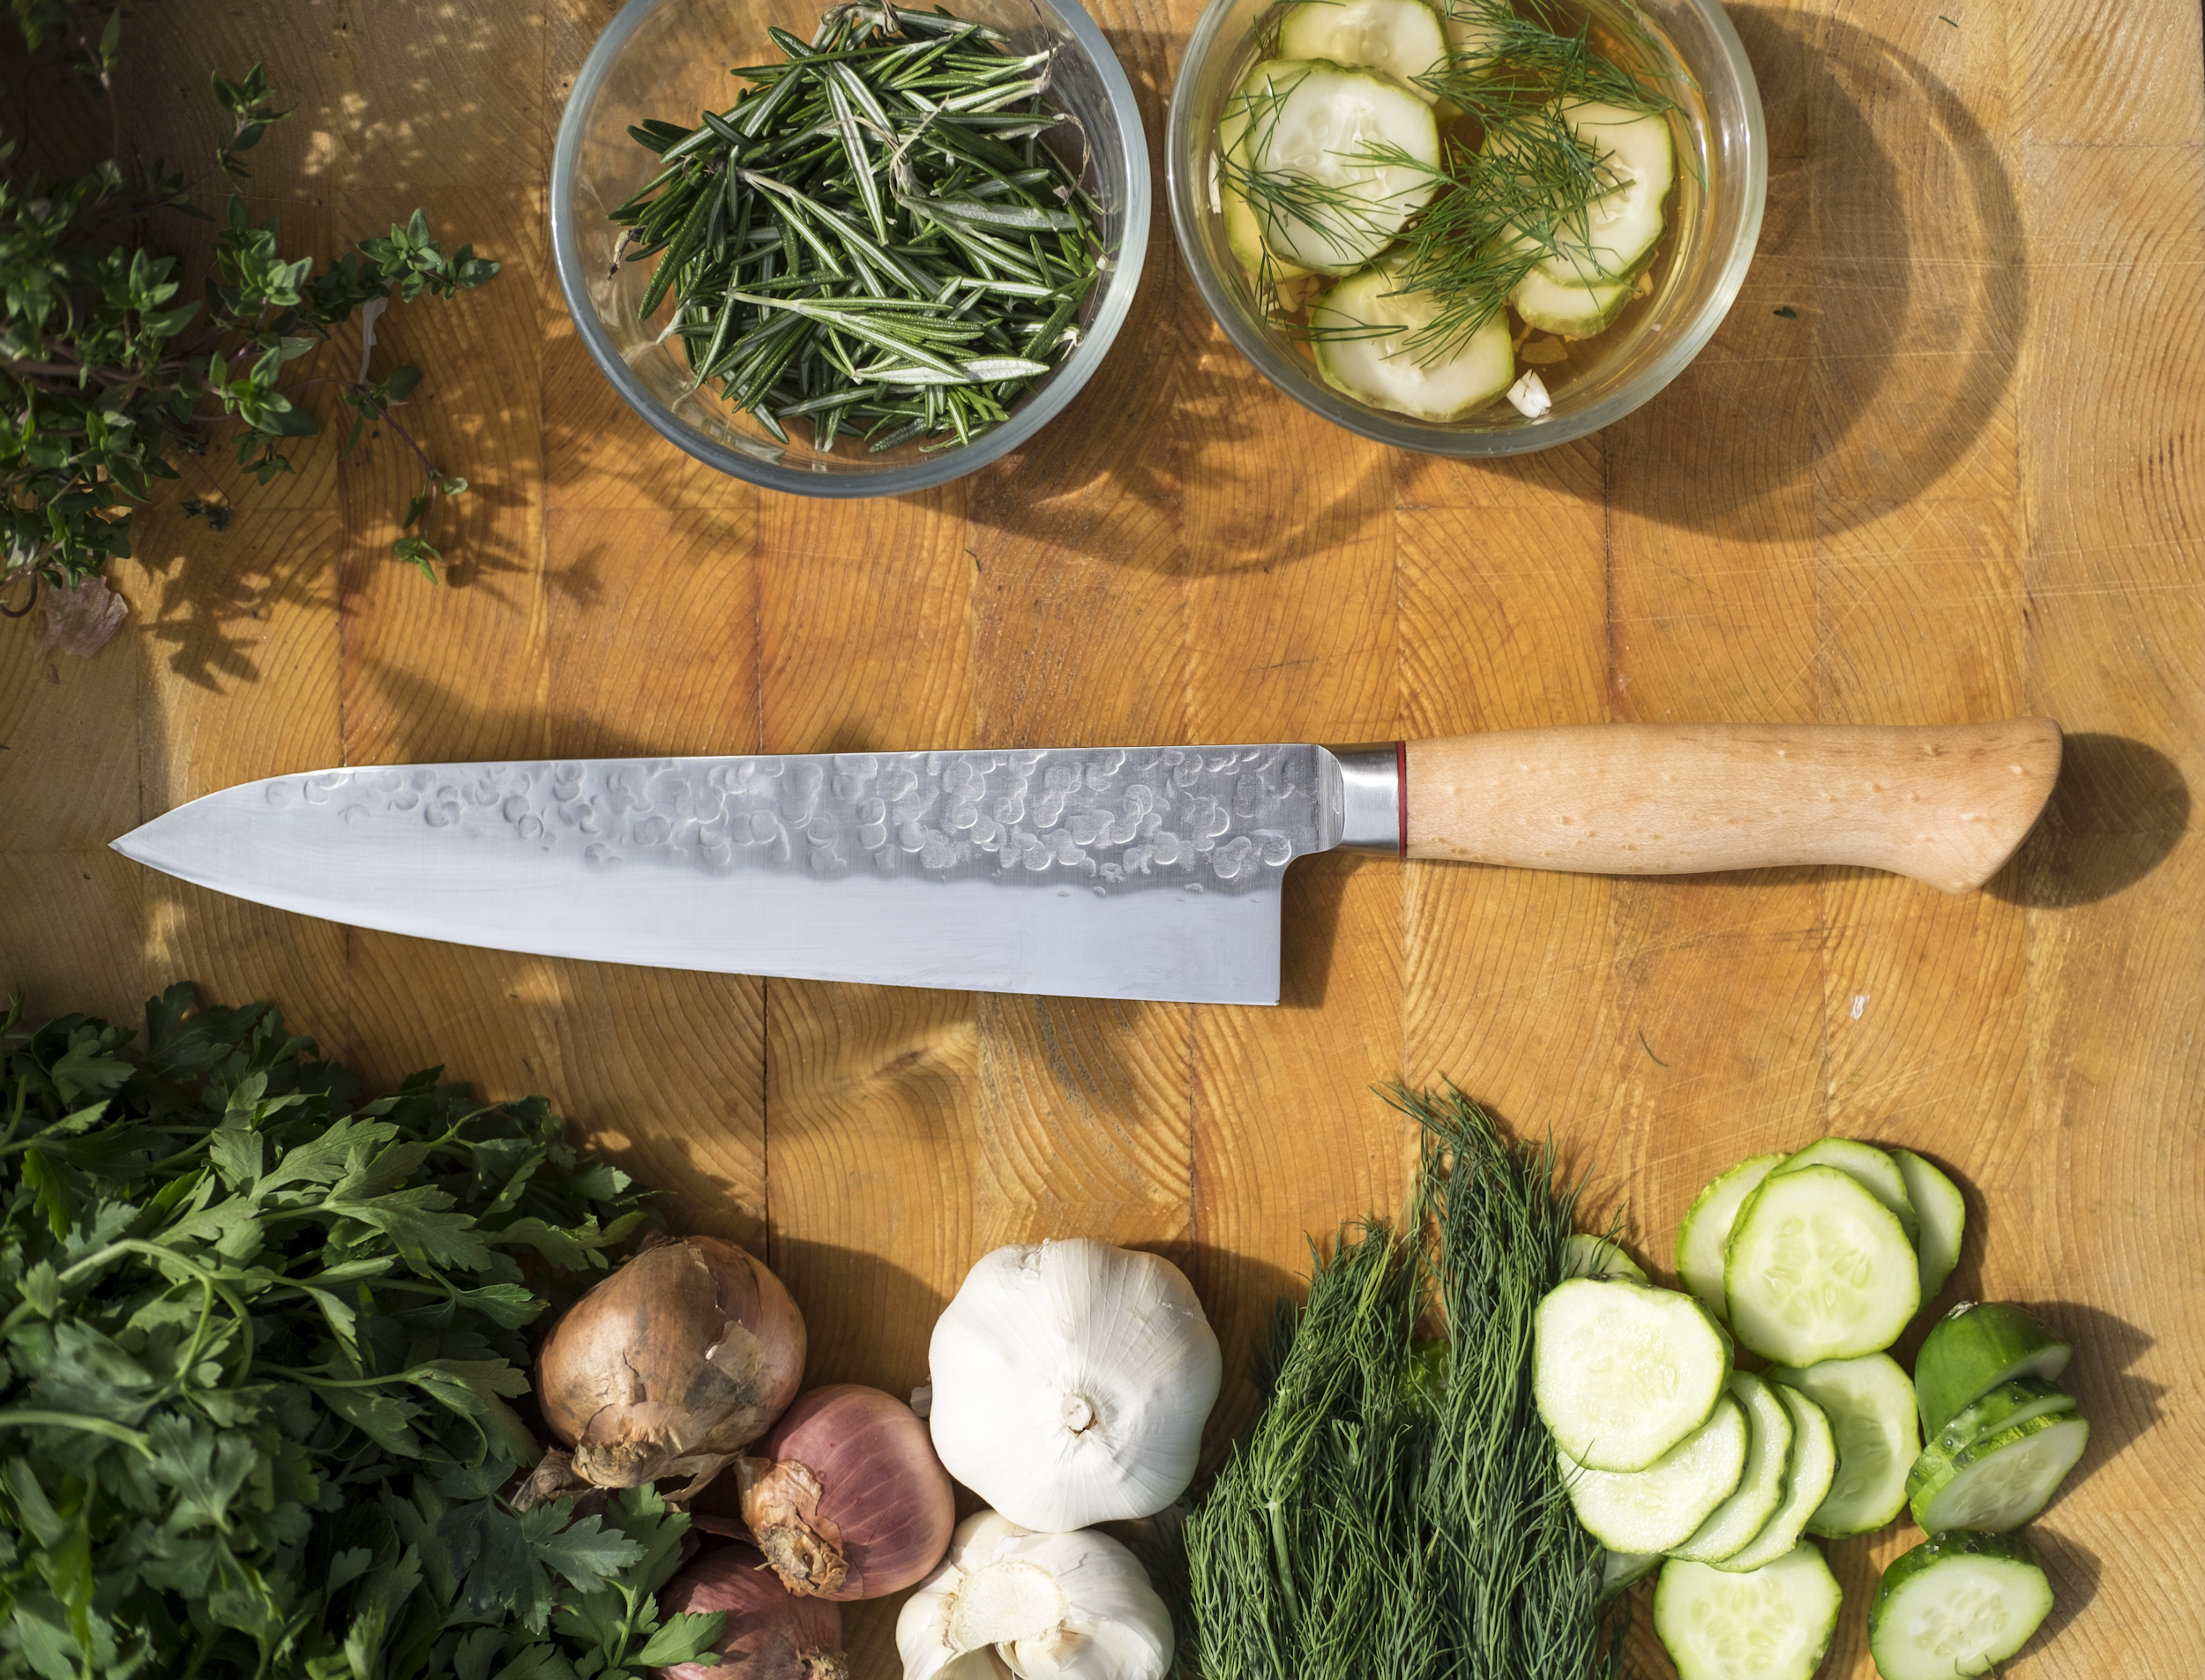
You do not need to memorize hundreds of recipes to become a confident cook. :)
This blog is less about “doing it right” because I definitely did not learn to cook by reading online. I learned by getting my hands dirty and making mistakes in the kitchen.
Think of this as a little exercise in mindset—and what to think about as you learn!
Recipes are helpful, but techniques are what give you freedom. You can cook at home or while you travel. Anytime, anywhere, with almost anything!
Once you understand how to roast, sauté, sear, simmer, steam, braise, grill, and bake, you can open your refrigerator, look at the real food you already have, and begin imagining what it could become.
A chicken breast can be seared, baked, grilled, poached, or sliced into a stir-fry. Potatoes can be roasted, mashed, boiled, fried, or added to a stew. Vegetables can be steamed until tender, sautéed with butter and garlic, or roasted until their edges caramelize.
The ingredient has not changed.
The technique changes the flavor, texture, appearance, and entire experience of eating it.
Learning to cook is really learning how ingredients respond to heat, time, moisture, fat, salt, and attention.
It sounds fancier than it is, and you should not feel intimidated. A lot of it will become intuitive over time. No recipe or overthinking needed—just cooking intuitively with the skills you have developed through practice.
I think that is one of the biggest things people overlook about spending time in the kitchen: every time you cook, you are growing in your skills and gifts.
You will eat every day, which means you have an opportunity every day to become a better cook. Over the weeks, months, and years, you can reach a place where you make gourmet meals every day—as long as you do not give up!
Cooking is a gift. Every day, you get to choose how to nourish your body and feed your family in a way that brings life, wellness, and vitality.
And that is pretty damn cool, if you ask me.
What Is a Cooking Technique?
You may have heard the term without knowing exactly what it means, so let’s keep it simple.
A cooking technique is a method used to transform an ingredient.
Some techniques use high, direct heat to brown the surface of food. Others use water, broth, steam, or gentle heat to soften food and preserve moisture. Some begin with browning and finish with a slow simmer.
There are so many ways to cook and prepare real food!
Most basic cooking techniques belong to one of three categories:
Dry-heat cooking
Moist-heat cooking
Combination cooking
Understanding these three categories makes almost every recipe easier to follow.
The Three Main Types of Cooking
1. Dry-Heat Cooking
Dry-heat cooking uses hot air, a heated pan, hot fat, or direct flame rather than water or broth as the primary cooking environment.
Dry-heat techniques include:
Sautéing
Searing
Roasting
Baking
Grilling
Broiling
Frying
These methods are especially useful when you want:
Browning
Crisp edges
Concentrated flavor
Caramelization
A flavorful crust
Less moisture on the surface
Dry-heat methods work best when the surface of the food is relatively dry. Excess water creates steam, which can prevent browning.
2. Moist-Heat Cooking
Moist-heat cooking uses water, broth, milk, steam, or another liquid to transfer heat to food.
Moist-heat techniques include:
Boiling
Simmering
Poaching
Steaming
Blanching
These methods are useful when you want:
Gentle cooking
Softening
Moisture
Tenderness
Delicate texture
A liquid that becomes part of the finished dish
Moist-heat cooking can be especially useful for grains, legumes, soups, sauces, eggs, delicate fish, and many vegetables.
3. Combination Cooking
Combination cooking uses both dry and moist heat.
The food is often browned first and then cooked slowly in liquid.
Combination techniques include:
Braising
Stewing
Pot roasting
Slow cooking after browning
These techniques are especially useful for:
Tougher cuts of meat
Bone-in cuts
Collagen-rich meat
Roots and sturdy vegetables
Deeply flavored soups and sauces
Meals that benefit from time
Combination cooking is one of the best ways to turn an inexpensive or tough ingredient into something tender, rich, and memorable.
Before You Begin: Five Habits That Make Cooking Easier
1. Read the Entire Recipe First
Do not begin cooking after reading only the first instruction.
Read the ingredient list and every step before turning on the heat.
Notice:
What needs to be chopped
What should be thawed
Which ingredients are added together
How long the food will cook
Whether the oven needs to be preheated
Whether the meat needs time to rest
Which pan or pot you will need
A two-minute review can prevent twenty minutes of chaos.
Eventually, you may grow so much in the kitchen that you will not even need to follow a recipe. You will simply learn to cook from the heart.
#KitchenFlowState
2. Prepare Your Ingredients
Professional kitchens often use the phrase mise en place, meaning “everything in its place.”
Mise en place is a skill I had to develop.
I was much more of a messy cook at the beginning of our marriage, and Daniel would always say, “Clean as we go.”
That was a crazy concept to me because I would cook everything first and focus on cleaning later. The idea of preparing my ingredients, cleaning up, and then cooking seemed wild!
But I once heard a professional chef say that if you learn mise en place, you will fall in love with cooking.
I already liked cooking, so I thought, If that is true, it should at least make cooking easier.
To my surprise, it made cooking more fun—and faster!
So, do not skip the preparation.
You do not need tiny glass bowls for every teaspoon of seasoning. You simply need to prepare enough that you are not frantically chopping garlic while your butter burns.
Before cooking, get everything out and ready:
Wash and dry produce
Chop vegetables and herbs
Measure important ingredients
Open cans or packages
Bring out seasonings
Prepare your cooking tools
Pat meat or fish dry when browning
Clear a place for finished food
Preparation allows you to pay attention to what is happening in the pan.
3. Preheat the Pan or Oven
Food begins cooking differently when it enters a properly heated environment.
A cold oven can produce uneven baking. Meat placed into a cold pan may release moisture and begin cooking before it develops a crust. Vegetables crowded onto a cool tray may steam rather than roast.
Preheating creates a more predictable result.
This does not mean every pan must become smoking hot. The appropriate temperature depends on the food and technique.
For some recipes—and depending on the type of oven you have—you should not skip this step.
Modern ovens can use a significant amount of heat to reach the correct temperature. If you place a meal inside while the oven is still preheating, the outside of the food could cook or burn while the inside cooks at a completely different rate.
If you are making biscuits or cookies, preheating the baking pan can also be a useful technique when the recipe calls for it. The oven will not have to heat the pan and the cold dough or batter at the same time.
4. Season in Layers
Seasoning is not something that only happens at the end. Each step deserves its own pop of flavor!
What Does “Seasoning in Layers” Mean?
Salt the meat. Season the vegetables. Taste the broth. Adjust the sauce. Finish with herbs, citrus, vinegar, pepper, or another layer of flavor.
When you season gradually, you have more control, depth, and wonder in each dish.
It is easier to add a little more salt than to rescue a dish that received far too much at once.
Some spices also react differently depending on the heat, length of cooking, and amount used. Some professional cooks even use timed “seasoning dumps” to develop the right flavors at different stages of cooking.
You can construct amazing bites from beginning to end when you understand the food you are making!
5. Pay Attention to the Food
Cooking times are useful estimates, but they are not always perfect.
Your stove, oven, cookware, altitude, ingredient size, starting temperature, and the food itself may differ from the conditions used to create a recipe.
Learn to notice:
Color
Smell
Texture
Sound
Steam
Resistance
Internal temperature
How quickly the liquid is bubbling
Whether the food releases naturally from the pan
Your senses are some of your most valuable cooking tools!
Basic Dry-Heat Cooking Techniques
Sautéing
What Is Sautéing?
Sautéing cooks relatively small pieces of food quickly in a hot pan with a modest amount of fat.
The word comes from a French term meaning “to jump,” which describes the movement of food in a hot pan.
Best For
Chopped vegetables
Leafy greens
Mushrooms
Onions and garlic
Thinly sliced meat
Shrimp
Small pieces of chicken
Leftover rice
Quick skillet meals
How to Sauté
Preheat a skillet over medium or medium-high heat.
Add an appropriate cooking fat.
Add the food in a relatively even layer.
Allow it to make contact with the pan.
Stir or turn periodically.
Season and cook until the desired tenderness and color are reached.
Common Mistake: Crowding the Pan
When too much food is added at once, moisture becomes trapped.
Instead of browning, the food steams.
Use a larger pan or cook in batches when necessary.
Simple Example
Sauté sliced mushrooms in butter until browned. Add garlic, thyme, pepper, and real salt near the end.
Searing
What Is Searing?
Searing uses relatively high heat to create a deeply browned crust on the surface of meat, fish, or another ingredient.
In other words, it creates a Maillard reaction!
This is the reaction between amino acids and certain sugars that creates browning and brings incredible flavor to life.
Searing develops flavor, color, and texture.
Best For
Steaks
Pork chops
Lamb chops
Chicken thighs
Fish fillets
Scallops
Roasts before braising
Cabbage wedges
Thick mushroom slices
How to Sear
Pat the surface of the food dry.
Season it.
Preheat a sturdy skillet.
Add an appropriate cooking fat.
Place the food in the pan without overcrowding.
Leave it alone long enough to develop a crust. Seriously, the key is not to touch it!
Turn it when it releases reasonably easily.
Finish cooking using the appropriate method.
Common Mistake: Moving the Food Constantly—or at All!
The key is not to touch it!
Food needs uninterrupted contact with the pan to brown.
If you repeatedly lift, slide, and turn it, the crust has less opportunity to form. Once you place your food into the hot pan, tell yourself, Do not touch it!
Important Note
Searing does not “seal in the juices.” It creates flavor through browning.
Roasting
What Is Roasting?
Roasting surrounds food with dry heat inside an oven.
For certain ingredients and recipes, the lower and slower you can roast, the deeper and cozier the flavors can become!
It is one of the easiest ways to cook real food because the oven does much of the work.
Best For
Whole chicken
Large cuts of meat
Potatoes
Root vegetables
Squash
Broccoli
Cauliflower
Cabbage
Onions
Garlic
Fruit
How to Roast
Preheat the oven.
Cut the food into reasonably even pieces.
Dry the surface when browning is desired.
Coat it lightly with an appropriate fat.
Season well.
Spread the food out rather than piling it together.
Roast until it is browned outside and properly cooked inside.
Common Mistake: Using a Crowded Pan
Crowded vegetables release moisture and steam one another.
Leave room for hot air to circulate if you want browned edges.
Simple Example
Roast potatoes in tallow or butter with garlic, rosemary, pepper, and real salt until the centers are tender and the edges are deeply golden.
[CLICK HERE TO SEE MY FULL GUIDE TO SLOW-ROASTING ALMOST ANYTHING]
Baking
What Is Baking?
Baking also uses dry oven heat, but the term is commonly associated with foods that begin as mixtures or doughs and become structurally different as they cook.
Best For
Bread
Biscuits
Cakes
Cookies
Muffins
Casseroles
Egg bakes
Meatloaf
Baked pasta
Custards
How Baking Differs From Everyday Stovetop Cooking
Baking often depends on ratios and chemical reactions.
Flour, liquid, fat, eggs, sugar, salt, yeast, baking powder, and baking soda each perform a role. This is why precise measurements matter more in baking than they do when seasoning a pot of soup.
Common Mistakes
Failing to preheat the oven
Measuring flour inaccurately
Substituting major ingredients without understanding their role
Overmixing the batter
Opening the oven repeatedly
Cutting baked goods before they have set or cooled
Not accounting for elevation
BONUS: In many recipes, the colder the butter, the fluffier the baked outcome will be.
Cooking allows improvisation. Baking often rewards precision.
Grilling
What Is Grilling?
Grilling cooks food over direct heat, usually from gas, charcoal, wood, or an electric element.
It creates char, smoke, browning, and distinctive flavor.
Sometimes, nothing beats eating food prepared over a fire!
Best For
Steaks
Burgers
Chicken
Fish
Shrimp
Sausages
Vegetables
Corn
Fruit
Flatbreads
A Simple Overview of How to Grill
Preheat and clean the grill.
Create hotter and cooler areas when possible.
Pat the food dry and season it.
Oil the food or grill appropriately.
Place it over the heat.
Turn it when it releases and develops good color.
Move thick food to a cooler area if the outside is browning too quickly.
Confirm safe doneness with a thermometer when appropriate.
Common Mistake: Cooking Everything Over Maximum Heat
High heat can burn the surface before the center is properly cooked.
A two-zone grill gives you more control: direct heat for browning and indirect heat for finishing.
Broiling
What Is Broiling?
Broiling cooks food using intense heat from above.
It is similar to grilling upside down.
Best For
Thin cuts of meat
Fish fillets
Shrimp
Vegetables
Melting or browning cheese
Crisping the top of casseroles
Toasting bread
Finishing a dish
How to Broil
Position the oven rack appropriately.
Preheat the broiler if your oven recommends it.
Place the food on a suitable pan.
Keep the food relatively close to the heating element.
Watch continuously.
Common Mistake: Walking Away
Broiling can move from beautifully browned to burned very quickly.
Stay near the oven.
Shallow-Frying and Pan-Frying
What Is Pan-Frying?
Pan-frying cooks food in a layer of hot fat that reaches partway up the ingredient.
It uses more fat than sautéing but less than deep-frying.
Best For
Chicken thighs
Fish
Meat patties
Potatoes
Fritters
Mushrooms
Breaded vegetables
Eggs
How to Pan-Fry
Select a stable pan.
Add an appropriate traditional cooking fat.
Heat the fat before adding the food.
Avoid overcrowding.
Turn the food when the first side is browned.
Drain or rest it appropriately.
Common Mistakes
Adding food before the fat is hot
Using food with excessive surface moisture
Overcrowding the pan
Allowing the coating to burn
Using a temperature too high for the food to cook through
Basic Moist-Heat Cooking Techniques
Boiling
What Is Boiling?
Boiling heats liquid until it produces large, rapidly breaking bubbles.
Best For
Pasta
Rice
Certain grains
Potatoes
Blanching vegetables
Reducing or sterilizing water when appropriate
When Boiling Is Too Aggressive
A rapid boil can break delicate ingredients apart, toughen some proteins, and make broth cloudy.
Not everything cooked in liquid should be boiled.
Simmering
What Is Simmering?
Simmering cooks food in liquid at a gentler temperature than boiling.
The liquid produces smaller, quieter bubbles rather than lots of rumbling bubbles.
Best For
Soup
Broth
Chili
Stew
Beans
Lentils
Sauces
Grains
Tender meat dishes
Reductions
How to Simmer
Bring the liquid toward a boil.
Reduce the heat.
Maintain gentle, consistent bubbling.
Stir periodically when needed.
Add more liquid if excessive evaporation occurs.
Common Mistake: Boiling the Entire Time
A hard boil does not always cook food faster in a helpful way.
Gentle simmering gives flavors time to develop and can protect the texture of meat, beans, and vegetables.
Poaching
What Is Poaching?
Poaching cooks delicate food gently in liquid below a simmer.
There may be slight movement in the liquid, but it should not be rolling or vigorously bubbling.
Best For
Eggs
Fish
Chicken breast
Fruit
Delicate dumplings
Poaching Liquid Can Include
Water
Broth
Milk
Wine
Fruit juice
Herbs
Citrus
Spices
Aromatics
Poaching can flavor food while helping it retain moisture.
Steaming
What Is Steaming?
Steaming cooks food with the hot vapor rising from simmering or boiling liquid.
The food sits above the liquid rather than being submerged in it.
Best For
Vegetables
Fish
Dumplings
Eggs
Rice
Buns
Reheating certain foods
How to Steam
Add liquid beneath a steaming basket or insert.
Bring the liquid to the appropriate heat.
Place the food above the water.
Cover the pot.
Cook until the food reaches the desired tenderness.
Common Mistake: Overcooking Vegetables
Steamed vegetables can move quickly from bright and tender to soft and dull.
Check them early.
Blanching
What Is Blanching?
Blanching briefly cooks food in boiling water before transferring it to cold or ice water to slow or stop the cooking process.
Best For
Preparing vegetables for freezing
Loosening tomato or peach skins
Softening sturdy vegetables
Setting the color of certain vegetables
Preparing ingredients for a later cooking step
Basic Method
Bring salted water to a boil.
Add the food.
Cook it briefly.
Transfer it immediately to ice water.
Drain and dry it.
Blanching is usually a preparation step rather than the complete cooking process.
Combination Cooking Techniques
Braising
What Is Braising?
Braising begins by browning a larger piece of food and then cooking it slowly with a modest amount of liquid in a covered pot.
Best For
Chuck roast
Short ribs
Lamb shanks
Pork shoulder
Chicken thighs
Cabbage
Fennel
Leeks
Tough or collagen-rich cuts
How to Braise
Dry and season the food.
Brown it in fat.
Remove it temporarily.
Cook onions, garlic, vegetables, or aromatics.
Add broth, wine, tomatoes, or another liquid.
Return the food to the pot.
Cover and cook gently until tender.
Reduce or finish the cooking liquid as a sauce.
Why Braising Works
Time, moisture, and gentle heat soften tough tissue and allow flavors to build.
Common Mistake: Using Too Much Liquid
Braising is not the same as boiling.
The food is usually only partially surrounded by liquid rather than completely submerged.
Stewing
What Is Stewing?
Stewing is similar to braising, but the meat and vegetables are generally cut into smaller pieces and more fully surrounded by liquid.
Best For
Beef stew
Lamb stew
Chicken stew
Chili
Curries
Bean dishes
Vegetable stews
Leftover meat
Basic Method
Cut the ingredients into reasonably even pieces.
Brown the meat in batches when desired.
Cook the aromatics.
Add the liquid and seasonings.
Simmer gently until the ingredients are tender.
Adjust the thickness, salt, acidity, and herbs before serving.
Stews often taste even better after the flavors have had time to rest together.
How to Choose the Right Cooking Technique
Ask five questions.
1. Is the Ingredient Tender or Tough?
Tender cuts often respond well to quicker techniques:
Searing
Grilling
Sautéing
Broiling
Tougher cuts often benefit from:
Braising
Stewing
Slow simmering
Pressure cooking
2. Is the Food Delicate or Sturdy?
Delicate foods may benefit from:
Poaching
Steaming
Gentle sautéing
Quick baking
Sturdy ingredients can often withstand:
Roasting
Grilling
Braising
Boiling
Longer cooking
3. Do I Want Browning or Softness?
For browning, use dry heat.
For softness and moisture, use moist heat.
For both, brown first and then then braise or stew.
4. How Much Time Do I Have?
For a quick meal:
Sauté
Sear
Grill
Broil
Steam
Bake
When you have more time:
Roast
Braise
Simmer
Stew
Slow-cook
Time is not always an inconvenience. With the right cut of meat, time becomes an ingredient.
5. What Result Am I Trying to Create?
Ask yourself:
Do I want crisp edges?
Do I want a tender center?
Do I want broth?
Do I want a browned crust?
Do I want the food to fall apart?
Do I want the ingredient to retain its shape?
Do I want a quick meal or a slow one?
Do I want fresh flavor or deep, developed flavor?
Choosing a technique becomes easier when you know what result you want.
Learn to Read the Food
A confident cook does more than watch a timer.
Use Your Eyes and Senses
Cooking connects us to what makes us human.
Look for:
Browning
Caramelized edges
Clear or reduced liquid
Wilted greens
Tender vegetables
A properly set center
Meat pulling from the bone
The desired crust
Use Your Ears
A pan can tell you what is happening.
A lively sizzle usually means moisture is meeting hot fat. A weak sound may mean the pan is not hot enough. Violent popping may mean the surface is too wet or the heat is too high.
Use Your Nose
Food often becomes fragrant shortly before it begins browning.
A nutty smell from butter, fragrant spices, sweet onions, or roasted garlic can signal progress. A sharp, scorched smell means you need to act quickly.
Use Touch and Resistance
When it is safe to do so, your hand can help you understand texture. A fork, knife, spoon, or pair of tongs can also reveal what is happening inside the food.
Does the potato resist the knife? Does the meat pull apart? Is the vegetable crisp, tender, or mushy? Does the fish flake?
Use a Thermometer
Visual appearance alone cannot reliably confirm that meat and poultry have reached a safe internal temperature.
A food thermometer is one of the simplest ways to cook more confidently and avoid both undercooking and excessive overcooking.
Basic Food-Safety Temperatures
According to the USDA, current safe minimum internal-temperature guidance includes:
Whole cuts of beef, pork, lamb, and veal: 145°F, followed by at least a three-minute rest
Ground beef, pork, lamb, and veal: 160°F
All poultry, including ground poultry: 165°F
Fish and shellfish: 145°F
Egg dishes: 160°F
Leftovers and casseroles: 165°F
Insert the thermometer into the thickest part of the food without touching bone.
You can review the complete current guidance on the USDA Safe Minimum Internal Temperature Chart.
Common Cooking Problems and What They Usually Mean
My Food Will Not Brown
Possible reasons:
The surface is wet
The pan is overcrowded
The pan was not hot enough
You moved the food too frequently
The food is releasing too much water
You are using a pan that traps steam
Dry the food, create more space, and allow it to remain in contact with the heat.
The Outside Is Burned, but the Inside Is Raw
Possible reasons:
The heat is too high
The piece is too thick for the chosen technique
The food began too cold
Direct heat was used when indirect heat was needed
The food needed to be finished in the oven
Use high heat to create color, then reduce the temperature or move the food to gentler heat so the center can finish cooking.
My Meat Is Dry
Possible reasons:
It was overcooked
The cut was too lean for the method
It was sliced immediately
The cooking temperature was too high
A thermometer was not used
Choose the method for the cut, monitor the temperature, and allow appropriate meat to rest before slicing.
My Vegetables Are Mushy
Possible reasons:
They were overcooked
They were cut too small
The pan was crowded
They were left sitting in liquid
Residual heat continued cooking them
Check vegetables earlier and remember that many continue cooking after leaving the heat.
My Food Tastes Flat
It may need:
Salt
Acid from lemon, lime, or vinegar
A traditional fat
Fresh herbs
Aromatics
Spice
Browning
More reduction
Contrast in texture
Do not automatically add more of everything.
Taste, identify what is missing, and make one adjustment at a time.
My Food Sticks to the Pan
Possible reasons:
The pan was not preheated
There was not enough fat
The food was turned too early
The pan surface was inappropriate for the food
The heat was too low or too high
Many proteins release more easily once a proper crust has formed.
Apply the Techniques to the Real Food Meal Formula
1. Anchor the Meal With Protein
Choose your technique based on the protein.
Steak: Sear or grill
Whole chicken: Roast
Chicken thighs: Sear, roast, grill, or braise
Chuck roast: Braise
Ground beef: Sauté or sear
Salmon: Bake, sear, grill, poach, or broil
Eggs: Fry, scramble, poach, boil, or bake
Lentils: Simmer
Beans: Soak when appropriate and simmer thoroughly
2. Add a Side
Potatoes: Roast, boil, mash, bake, or fry
Leafy greens: Sauté, steam, or braise
Broccoli: Roast, steam, blanch, or sauté
Root vegetables: Roast, simmer, mash, or braise
Rice: Steam or simmer
Fruit: Serve fresh, roast, grill, poach, or stew
Mushrooms: Sauté, roast, grill, or simmer
3. Choose an Appropriate Traditional Fat
Use butter, ghee, tallow, lard, olive oil, coconut oil, avocado oil, poultry fat, or the fat naturally present in the food when appropriate.
The technique, temperature, flavor, and ingredient will help determine which fat makes sense.
4. Bring It to Life
Finish with:
Fresh herbs
Dried herbs
Spices
Garlic
Onions
Shallots
Ginger
Citrus
Vinegar
Real salt
Pepper
Fermented condiments
Technique creates the foundation.
Seasoning gives the meal its personality.
Examples: Four Complete Meals Built With Technique
Roast Chicken With Potatoes and Carrots
Protein technique: Roast
Side technique: Roast
Fat: Butter or chicken fat
Flavor: Garlic, rosemary, lemon, pepper, and salt
Seared Salmon With Rice and Steamed Broccoli
Protein technique: Sear
Side techniques: Simmer or steam
Fat: Butter or olive oil
Flavor: Lemon, dill, garlic, and salt
Braised Beef With Root Vegetables
Protein technique: Sear and braise
Side technique: Braise in the cooking liquid
Fat: Tallow or the fat naturally present in the beef
Flavor: Onion, garlic, thyme, broth, and salt
Sautéed Eggs, Greens, and Potatoes
Protein technique: Fry or scramble
Side techniques: Sauté and roast
Fat: Butter or tallow
Flavor: Chives, garlic, pepper, and salt
A Seven-Meal Cooking Practice
You do not need culinary school to begin developing skill.
Practice one technique at a time:
Sauté: Onions, mushrooms, or greens
Roast: Potatoes and a whole chicken
Sear: A steak, pork chop, or salmon fillet
Simmer: Soup, rice, lentils, or beans
Steam: Broccoli, green beans, or fish
Braise: Chuck roast, chicken thighs, or cabbage
Bake: Bread, muffins, an egg bake, or a casserole
Repeating a basic technique teaches you more than attempting a completely unfamiliar, complicated recipe every night.
You Are Allowed to Learn
At one point in my life, trying new foods would have been difficult for me.
I was not adventurous with food, and unfamiliar ingredients were usually a no-go. But as my health knowledge grew and I became more confident in the kitchen, something changed.
Now I love discovering ingredients, experimenting with flavors, and recreating foods I have enjoyed at restaurants.
If you do not feel adventurous or confident in the kitchen yet, take it from me:
Do not give up, and do not limit yourself.
Start small. Stay curious. Cook one ingredient in two different ways. Taste as you go. Notice what changes. Allow yourself to make food that is merely good before expecting it to be extraordinary.
Confidence does not appear before you begin.
It grows because you begin.
Frequently Asked Questions
Which Cooking Techniques Should a Beginner Learn First?
Start with sautéing, roasting, simmering, searing, and steaming.
I learned the vast majority of my skills with one pot, one pan, and a baking dish—plus a good knife!
Together, these techniques allow you to prepare a wide range of meat, eggs, vegetables, roots, rice, grains, legumes, and simple sauces.
What Is the Difference Between Roasting and Baking?
Both use dry oven heat.
“Roasting” is generally used for meat, poultry, vegetables, and other foods that already have structure. “Baking” is often used for doughs, batters, casseroles, custards, and mixtures that develop structure as they cook.
The terms sometimes overlap.
What Is the Difference Between Sautéing and Frying?
Sautéing uses a relatively small amount of fat and usually cooks smaller pieces quickly.
Pan-frying uses more fat and often cooks larger or breaded pieces. Deep-frying completely submerges food in hot fat.
What Is the Difference Between Boiling and Simmering?
Boiling creates large, rapid bubbles and stronger movement.
Simmering uses gentler heat and smaller bubbles. It is often better for soup, broth, beans, sauces, and tender cooking.
What Is the Difference Between Braising and Stewing?
Braising generally uses larger pieces of food partially surrounded by liquid.
Stewing usually uses smaller pieces more completely surrounded by liquid.
Both combine browning with slow, moist cooking.
Do I Need Expensive Cookware?
No.
A useful beginning collection might include:
One sturdy skillet
One saucepan
One larger pot or Dutch oven
One sheet pan
One baking dish
A chef’s knife
A cutting board
Tongs
A wooden spoon
A food thermometer
Skill matters more than owning a kitchen full of specialized equipment.
How Do I Know When Food Is Finished?
Use several signals together:
Recommended internal temperature
Color
Texture
Aroma
Tenderness
Cooking time
Visual appearance
For meat and poultry, use a food thermometer rather than relying only on color.
Technique Creates Freedom
I say it all the time: once you understand techniques, you do not always need a recipe!
Recipes tell you how to make one dish.
Techniques teach you how to make thousands.
When you understand what heat does, you become less dependent on packaged meals, rigid plans, and perfectly written instructions.
You can look at beef, potatoes, onions, butter, rosemary, and salt and know you have dinner.
You can see eggs, leftover rice, vegetables, and herbs and understand how to turn them into a skillet meal.
You can buy a whole chicken knowing that it can become roast chicken, soup, broth, sandwiches, or another meal tomorrow.
The goal is not to cook perfectly. The goal is to become capable.
Learn one technique.
Practice it with real ingredients.
Pay attention to what happens.
Then do it again.
Continue Learning
Now that you understand the basic cooking techniques, use them with the Complete Food Family Guide to begin creating your own meals.
[EXPLORE THE COMPLETE FOOD FAMILY GUIDE]
Then download the free Cook With Real Food cookbook for 30 approachable recipes made with recognizable ingredients.
[GET THE FREE 30-RECIPE COOKBOOK]
Have a cooking question?
Email me at cookwithrealfood@protonmail.com.
Cook With Real Food
Part of the Back to Source Method
Learn the ingredients. Practice the techniques. Cook with confidence.